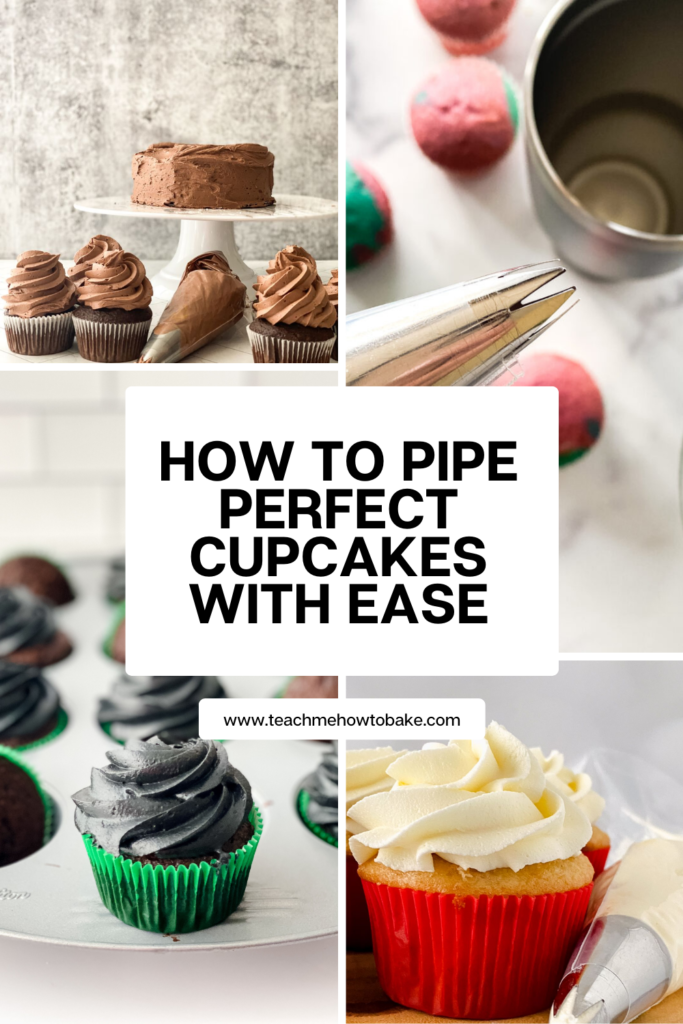
How to Pipe Perfect Cupcakes with Ease
If you’re looking to add that professional finishing touch to your cupcakes, learning how to pipe frosting like a pro is a must. Whether you’re a home baker looking to up your game or a culinary professional refining your skills, this piping bag tutorial will walk you through every step. With the right tools and techniques, you’ll be creating stunning, bakery-worthy designs in no time. Let’s dive into the basics of using a piping bag and star tip to create beautiful swirls and designs.
Piping Bag Tutorial
Equipment:
- Tall Cup: A tall cup is perfect for stabilizing your piping bag while you fill it with frosting.
- Piping Bag: Choose a standard disposable or reusable piping bag that fits your chosen piping tip.
- Piping Tip (1M or 2D): A star-shaped piping tip is ideal for creating those classic, eye-catching swirls and stars on cupcakes.
Ingredients:
Frosting: Make sure your frosting is fluffy and thick enough to hold its shape. It should be soft and creamy but not runny, here are my suggestions:
- American Crusting Buttercream Recipe
- Easy Swiss Meringue Buttercream Recipe
- How to make the perfect chocolate buttercream
- How to make black buttercream
Instructions:
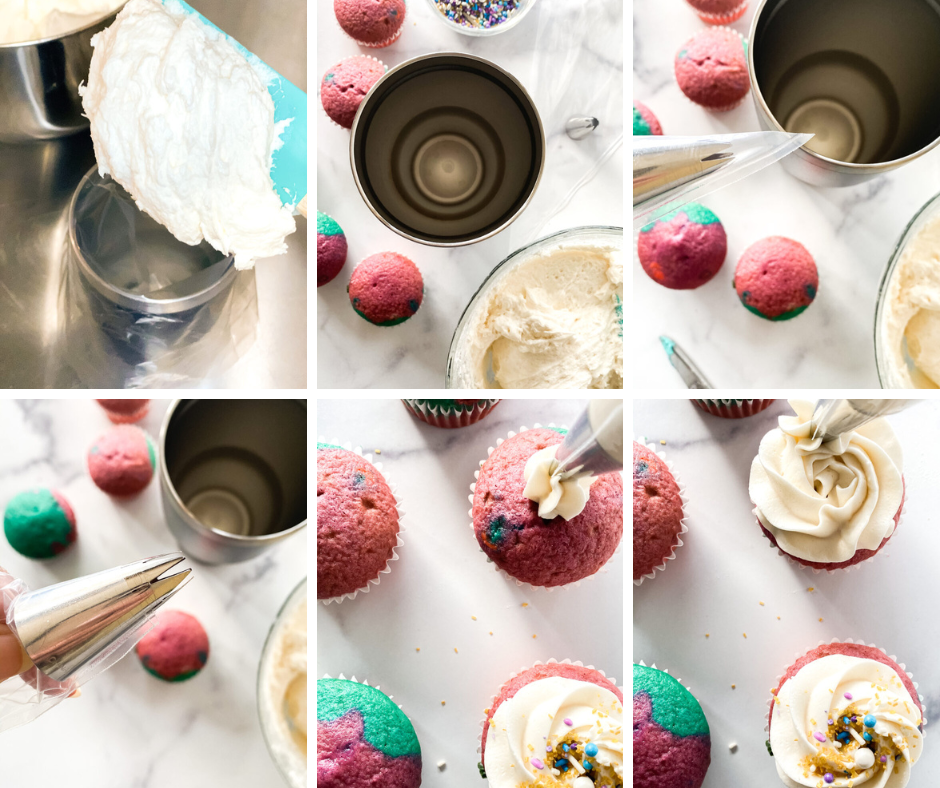
- Prepare Your Piping Bag: Begin by grabbing a tall cup and a piping bag. Place the open end of the piping bag over the rim of the cup, folding the top over the edges to create a sturdy base. This will help you fill the bag without making a mess.
- Insert the Piping Tip: Drop your star-shaped piping tip (either a 1M or 2D) into the bag. Make sure the tip is fully seated at the bottom of the bag, so you’re ready to pipe with precision.
- Fill the Piping Bag: Carefully fill your piping bag with frosting. If you’re working with children or beginners, avoid overfilling the bag. Filling the bag halfway is usually sufficient to give you control without making the bag too heavy or difficult to manage.
- Position the Piping Bag: Once filled, twist the top of the piping bag to seal it and prevent any frosting from leaking out. Hold the bag firmly, ensuring the frosting is pushed towards the tip.
- Start Piping the Center: Position the piping tip directly over the center of your cupcake. Apply pressure gently and pipe a small star in the middle of the cupcake. It’s important to start with a firm base to anchor your swirl.
- Pipe the Surrounding Swirl: Without releasing pressure, lift the piping bag slightly above the center star, and start piping around it. Move in a tight circular motion to form a neat swirl, enclosing the center star. The key here is to keep your motion tight and consistent for a clean, uniform look.
- Finish and Release Pressure: Once you’ve encircled the star, release the pressure on the piping bag and pull the tip off to the side. This will ensure the swirl stays intact and doesn’t fall apart.
- Add Sprinkles: To finish off your masterpiece, immediately add sprinkles or any other decorations of your choice. This step should be done quickly while the frosting is still fresh and pliable.
Pro Tips from a Pastry Chef Instructor:
- Control the Pressure: The key to piping is controlling the pressure you apply. Start with gentle pressure, and gradually increase it as needed. If you apply too much pressure at once, the frosting may spill out uncontrollably.
- Frosting Consistency: For the perfect piping consistency, make sure your frosting is fluffy but thick. If it’s too soft, it may not hold its shape, and if it’s too stiff, it’ll be hard to pipe. Aim for a smooth, thick consistency that creates a firm but fluffy cloud of frosting.
- Keep Your Work Area Clean: Piping bags can get messy quickly, so be sure to keep your work area clean. Wipe your hands and the tip of the bag as needed to avoid transferring frosting everywhere.
- Practice Makes Perfect: If you’re new to piping, don’t worry if it takes a few tries to get the swirl just right. With practice, your technique will improve, and soon you’ll be piping like a pro.
FAQs:
- What if my frosting isn’t holding its shape? If your frosting is too soft, try chilling it slightly in the fridge for a few minutes to firm it up. If it’s too stiff, add a teaspoon of milk at a time to adjust the consistency.
- Can I use this technique for other desserts? Absolutely! This piping technique works wonderfully for cupcakes, cakes, cookies, and even pastries. The star-shaped swirl is versatile and adds an elegant touch to any dessert.
- How do I store leftover frosting? If you have leftover frosting, store it in an airtight container in the refrigerator for up to a week. Before reusing, bring it to room temperature and re-whip it for a smooth texture.
- Can I use different piping tips? Yes! While a star tip is great for this tutorial, you can use other tips like round tips or petal tips for different effects. Experimenting with different shapes will give you unique designs for any occasion.
Now that you’ve mastered the art of piping, you can create beautifully decorated cupcakes and cakes that will impress everyone. With a little practice and the right tools, you’ll be able to pipe stunning designs that elevate your desserts to a whole new level. So grab your piping bag and let your creativity flow! Happy decorating, I hope this Piping bag tutorial helped!
PIN for Later