How to Make Harry Potter’s Birthday Cake
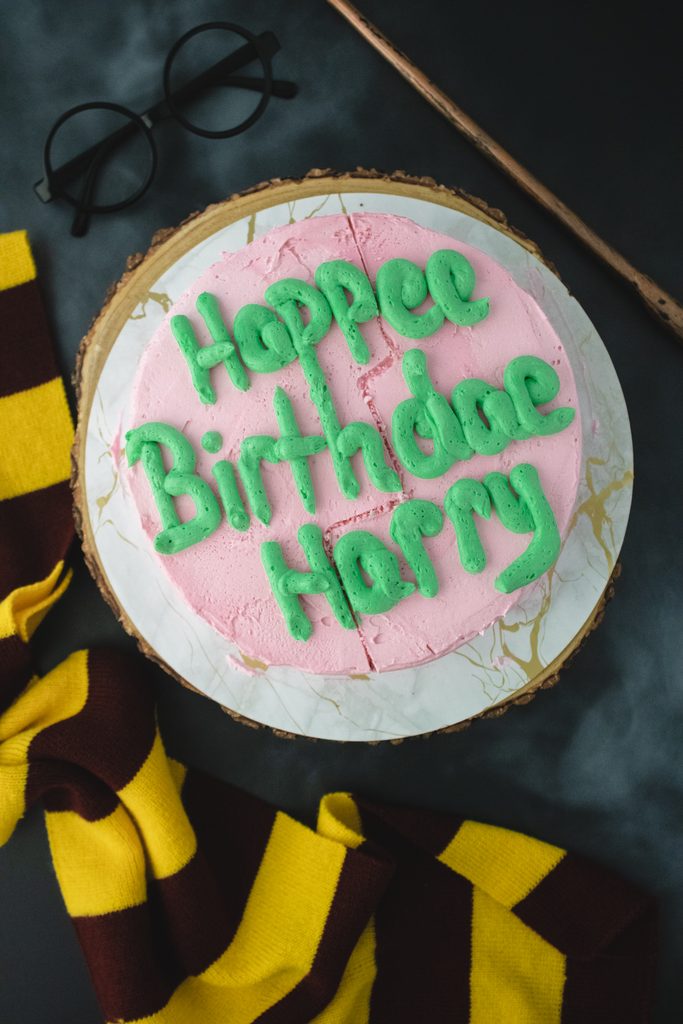
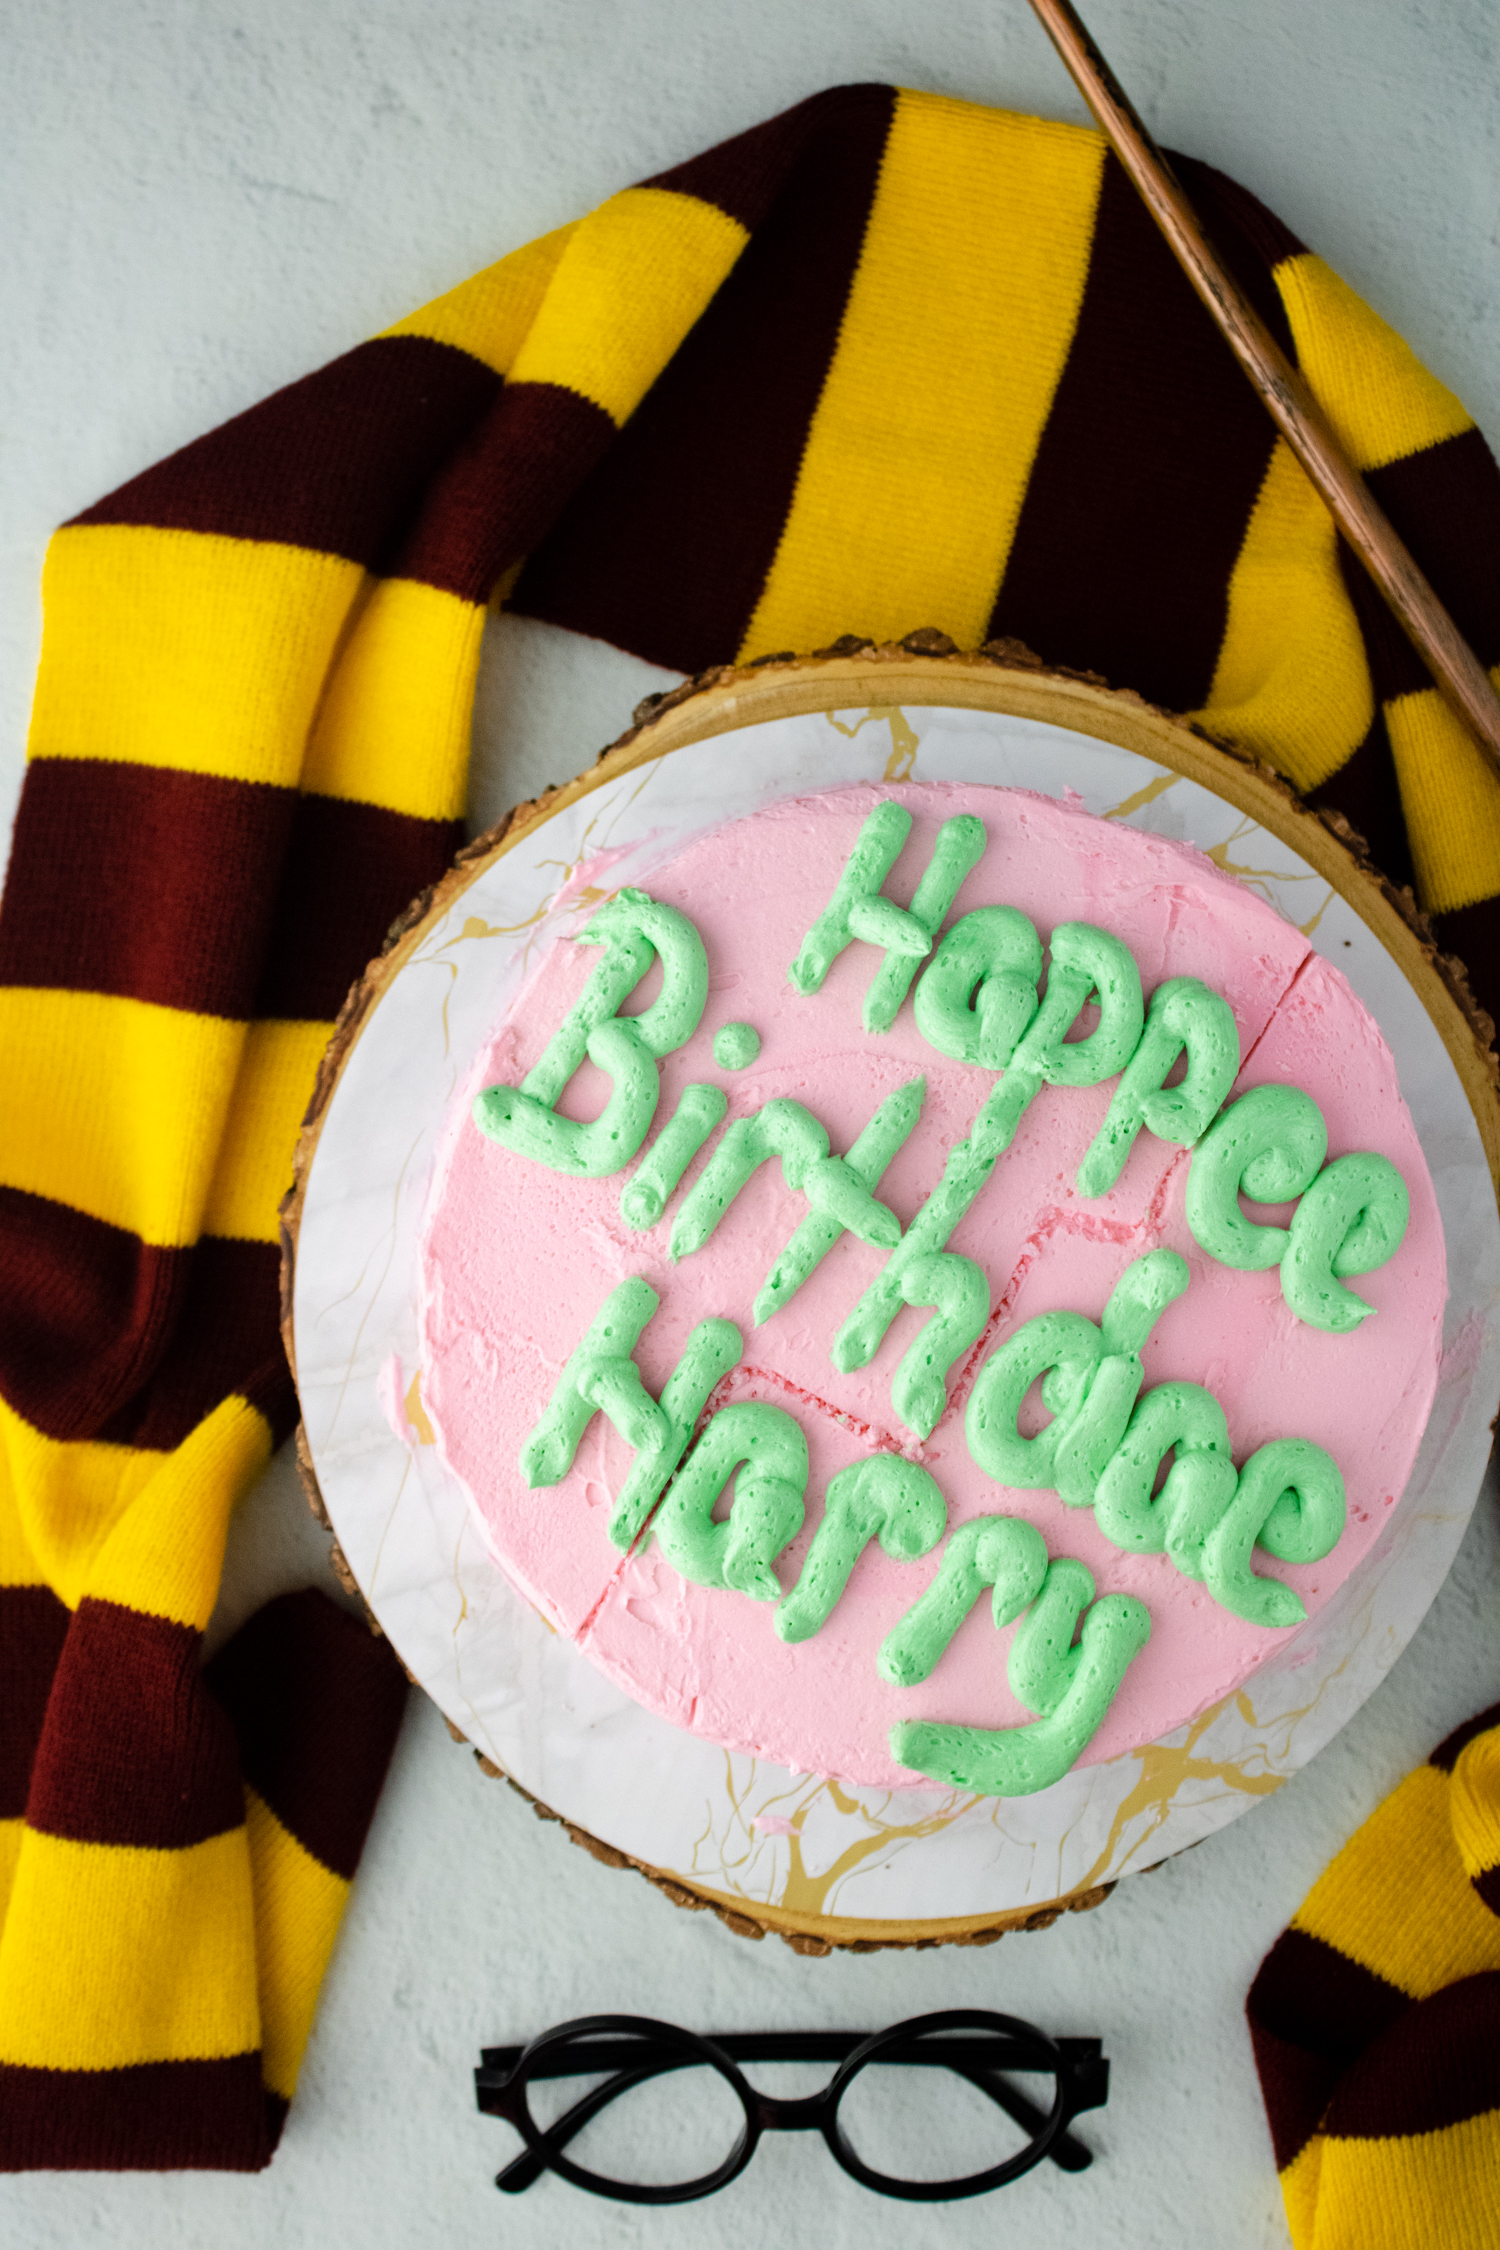
If you have ever wanted to recreate the pink birthday cake Hagrid gives Harry Potter, this tutorial will walk you through the entire process. The finished cake has a single chocolate layer, rustic pink frosting, thick green lettering, and the intentionally misspelled message that makes the original cake so memorable.
This is also a wonderfully forgiving decorating project. The frosting does not need perfectly smooth sides, the lettering should look handmade, and the decorative cracks are supposed to be uneven. In this case, trying to make everything flawless can actually make the cake look less authentic.
The cake starts with a 15.25-ounce chocolate cake mix that is enhanced with sour cream for additional moisture and a tender crumb. A simple butter-and-shortening frosting gives you enough stability to frost the cake and pipe the thick green lettering without making the decorating process unnecessarily complicated.
Affiliate Disclosure: This post contains affiliate links. If you purchase through one of these links, Teach Me How to Bake TM may earn a commission at no additional cost to you.
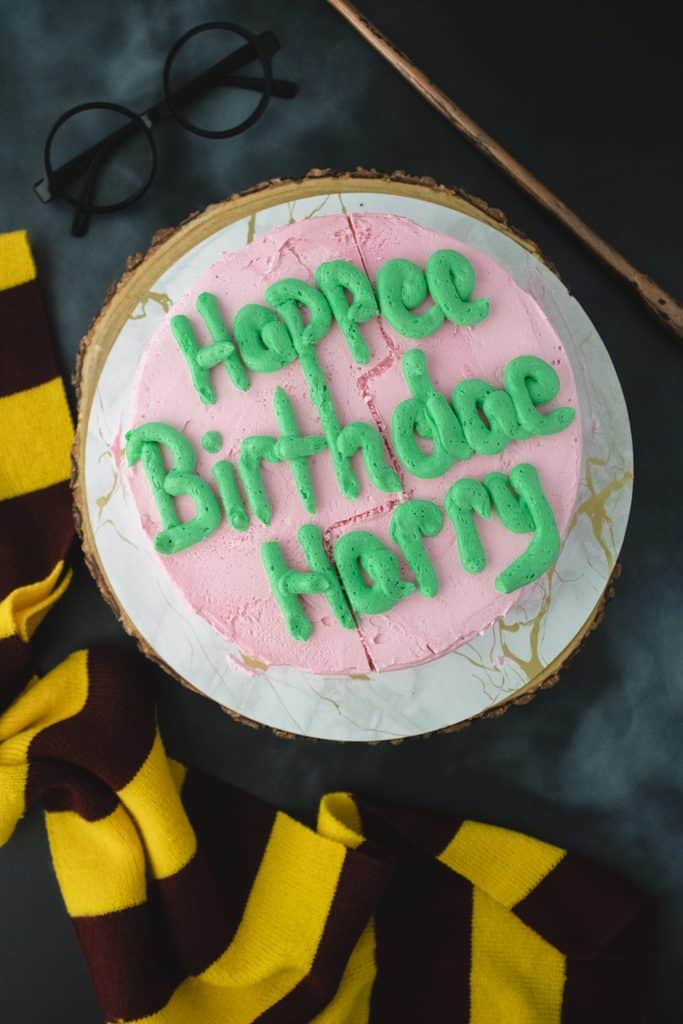
What Does the Harry Potter Birthday Cake Say?
The message on the cake is:
Happee Birthdae Harry
The unusual spelling is part of the cake’s charm. When you pipe the message, begin with “Birthdae” across the center. That middle word serves as an anchor and makes it easier to position “Happee” above it and “Harry” below it.
Why This Cake Is Beginner-Friendly
This cake does not require sharp buttercream edges, elaborate fondant work, or advanced piping skills. A single round cake layer keeps assembly simple, and a large round piping tip creates the thick, uneven lettering associated with the original design.
The buttercream combines butter and vegetable shortening. The butter provides flavor, while the shortening gives the frosting additional stability and helps the piped letters hold their shape.
Freezing the cooled cake overnight also makes decorating easier. A firm cake is less likely to tear or release crumbs while you spread the pink frosting. The cake will thaw beneath the frosting before it is served.
Equipment You Will Need
- One 8 × 2-inch round cake pan
- Hand or stand mixer
- Measuring cups and spoons
- Offset spatula
- Cake turntable
- 8-inch cake board or serving plate
- Piping bag
- Wilton #10 round piping tip or a similar large round tip
- Pink gel food coloring
- Green gel food coloring
Gel food coloring works better than liquid coloring because it produces a stronger color without adding unnecessary liquid to the buttercream.
Make the Chocolate Cake
Preheat the oven to 350°F. Coat the inside of an 8 × 2-inch round cake pan with baking spray.
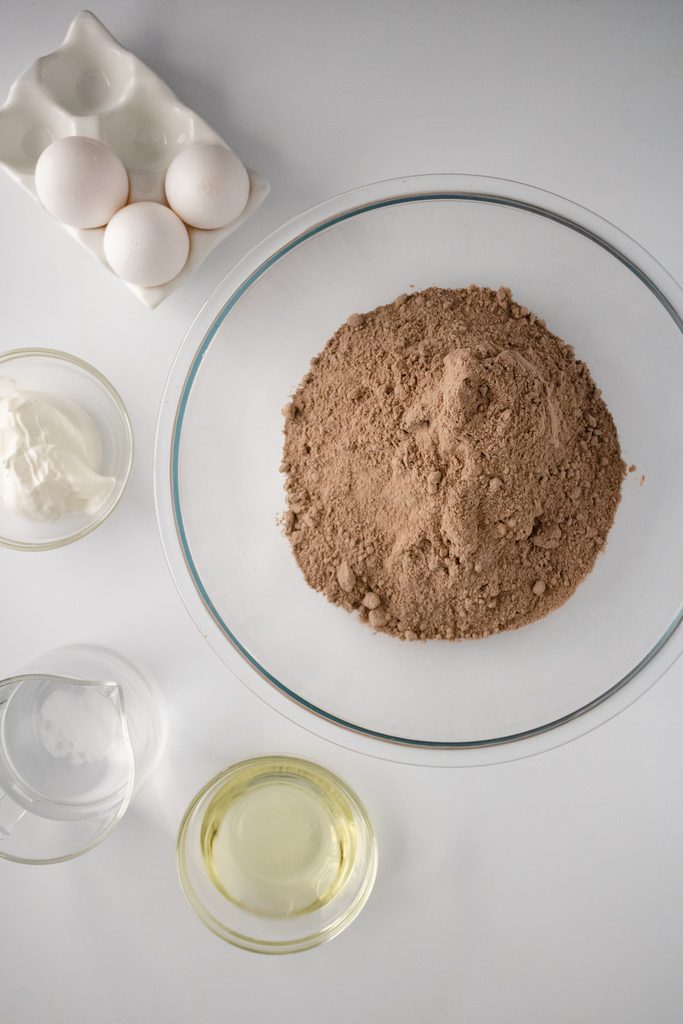
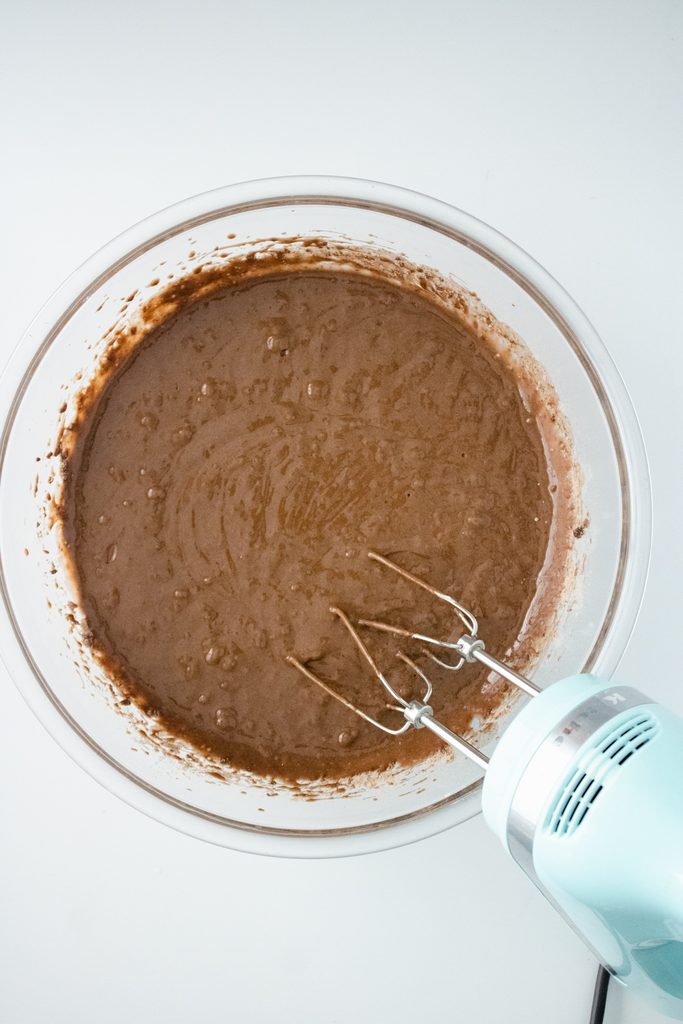
Add the chocolate cake mix, eggs, vegetable oil, water, and sour cream to a large mixing bowl. Mix until the batter is smooth and the dry cake mix has been fully incorporated.
The sour cream enriches the boxed cake mix and helps the finished cake retain moisture. It also creates a slightly sturdier crumb, which is helpful when you are frosting a single cake layer.
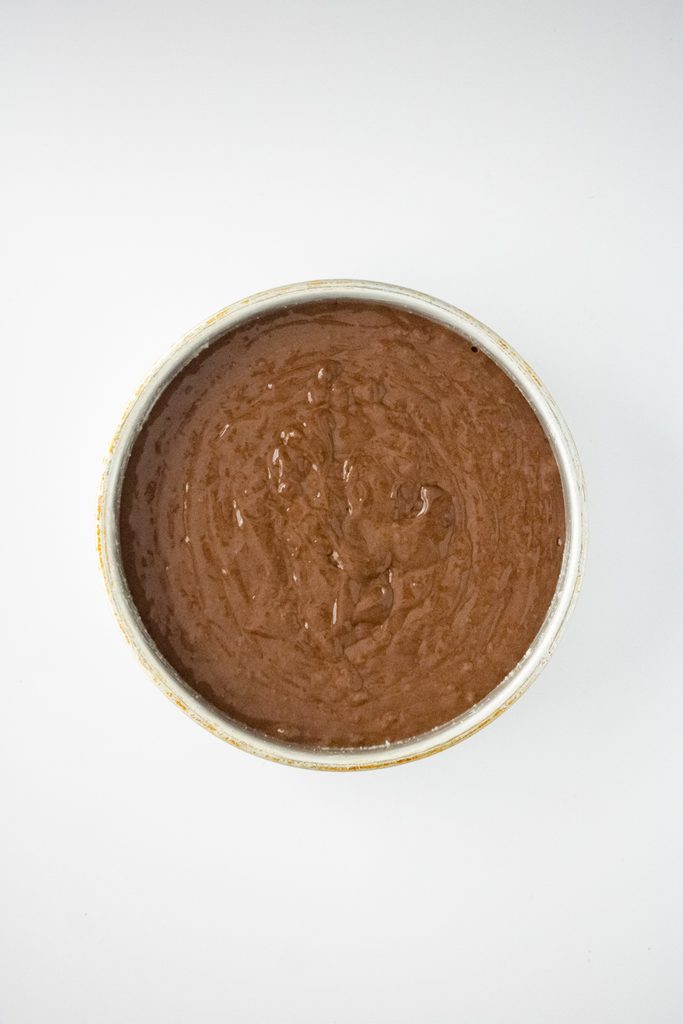
Pour the batter into the prepared pan and spread it evenly. Bake for 35 to 40 minutes, or until a toothpick inserted near the center comes out clean or with a few moist crumbs.
Allow the cake to cool completely. For the easiest decorating experience, wrap or cover the cooled cake and freeze it overnight.
Make the Buttercream
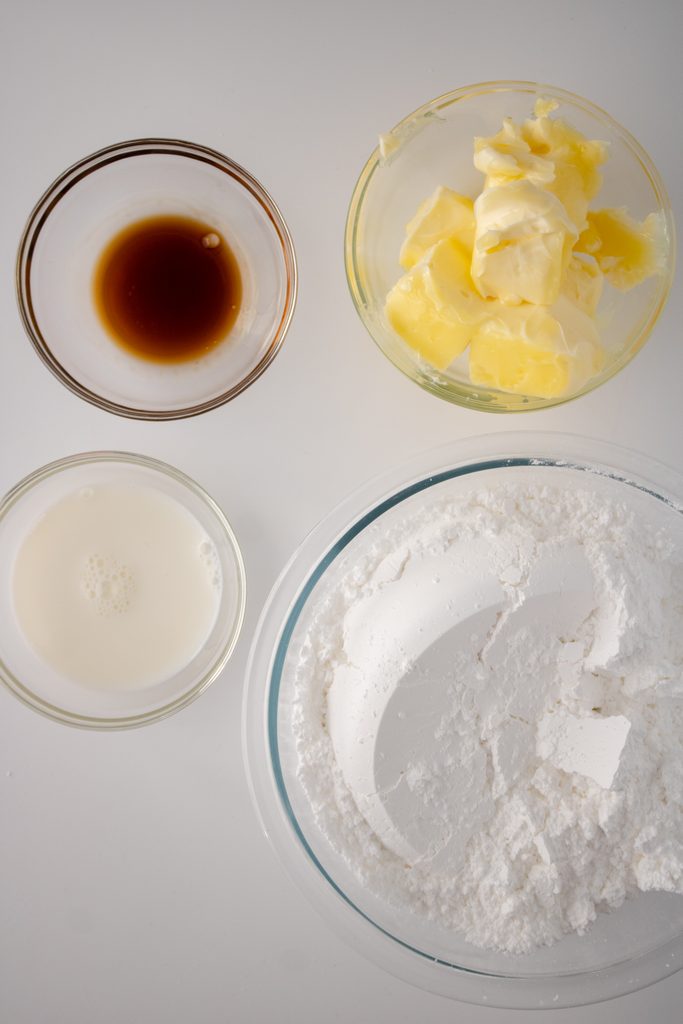
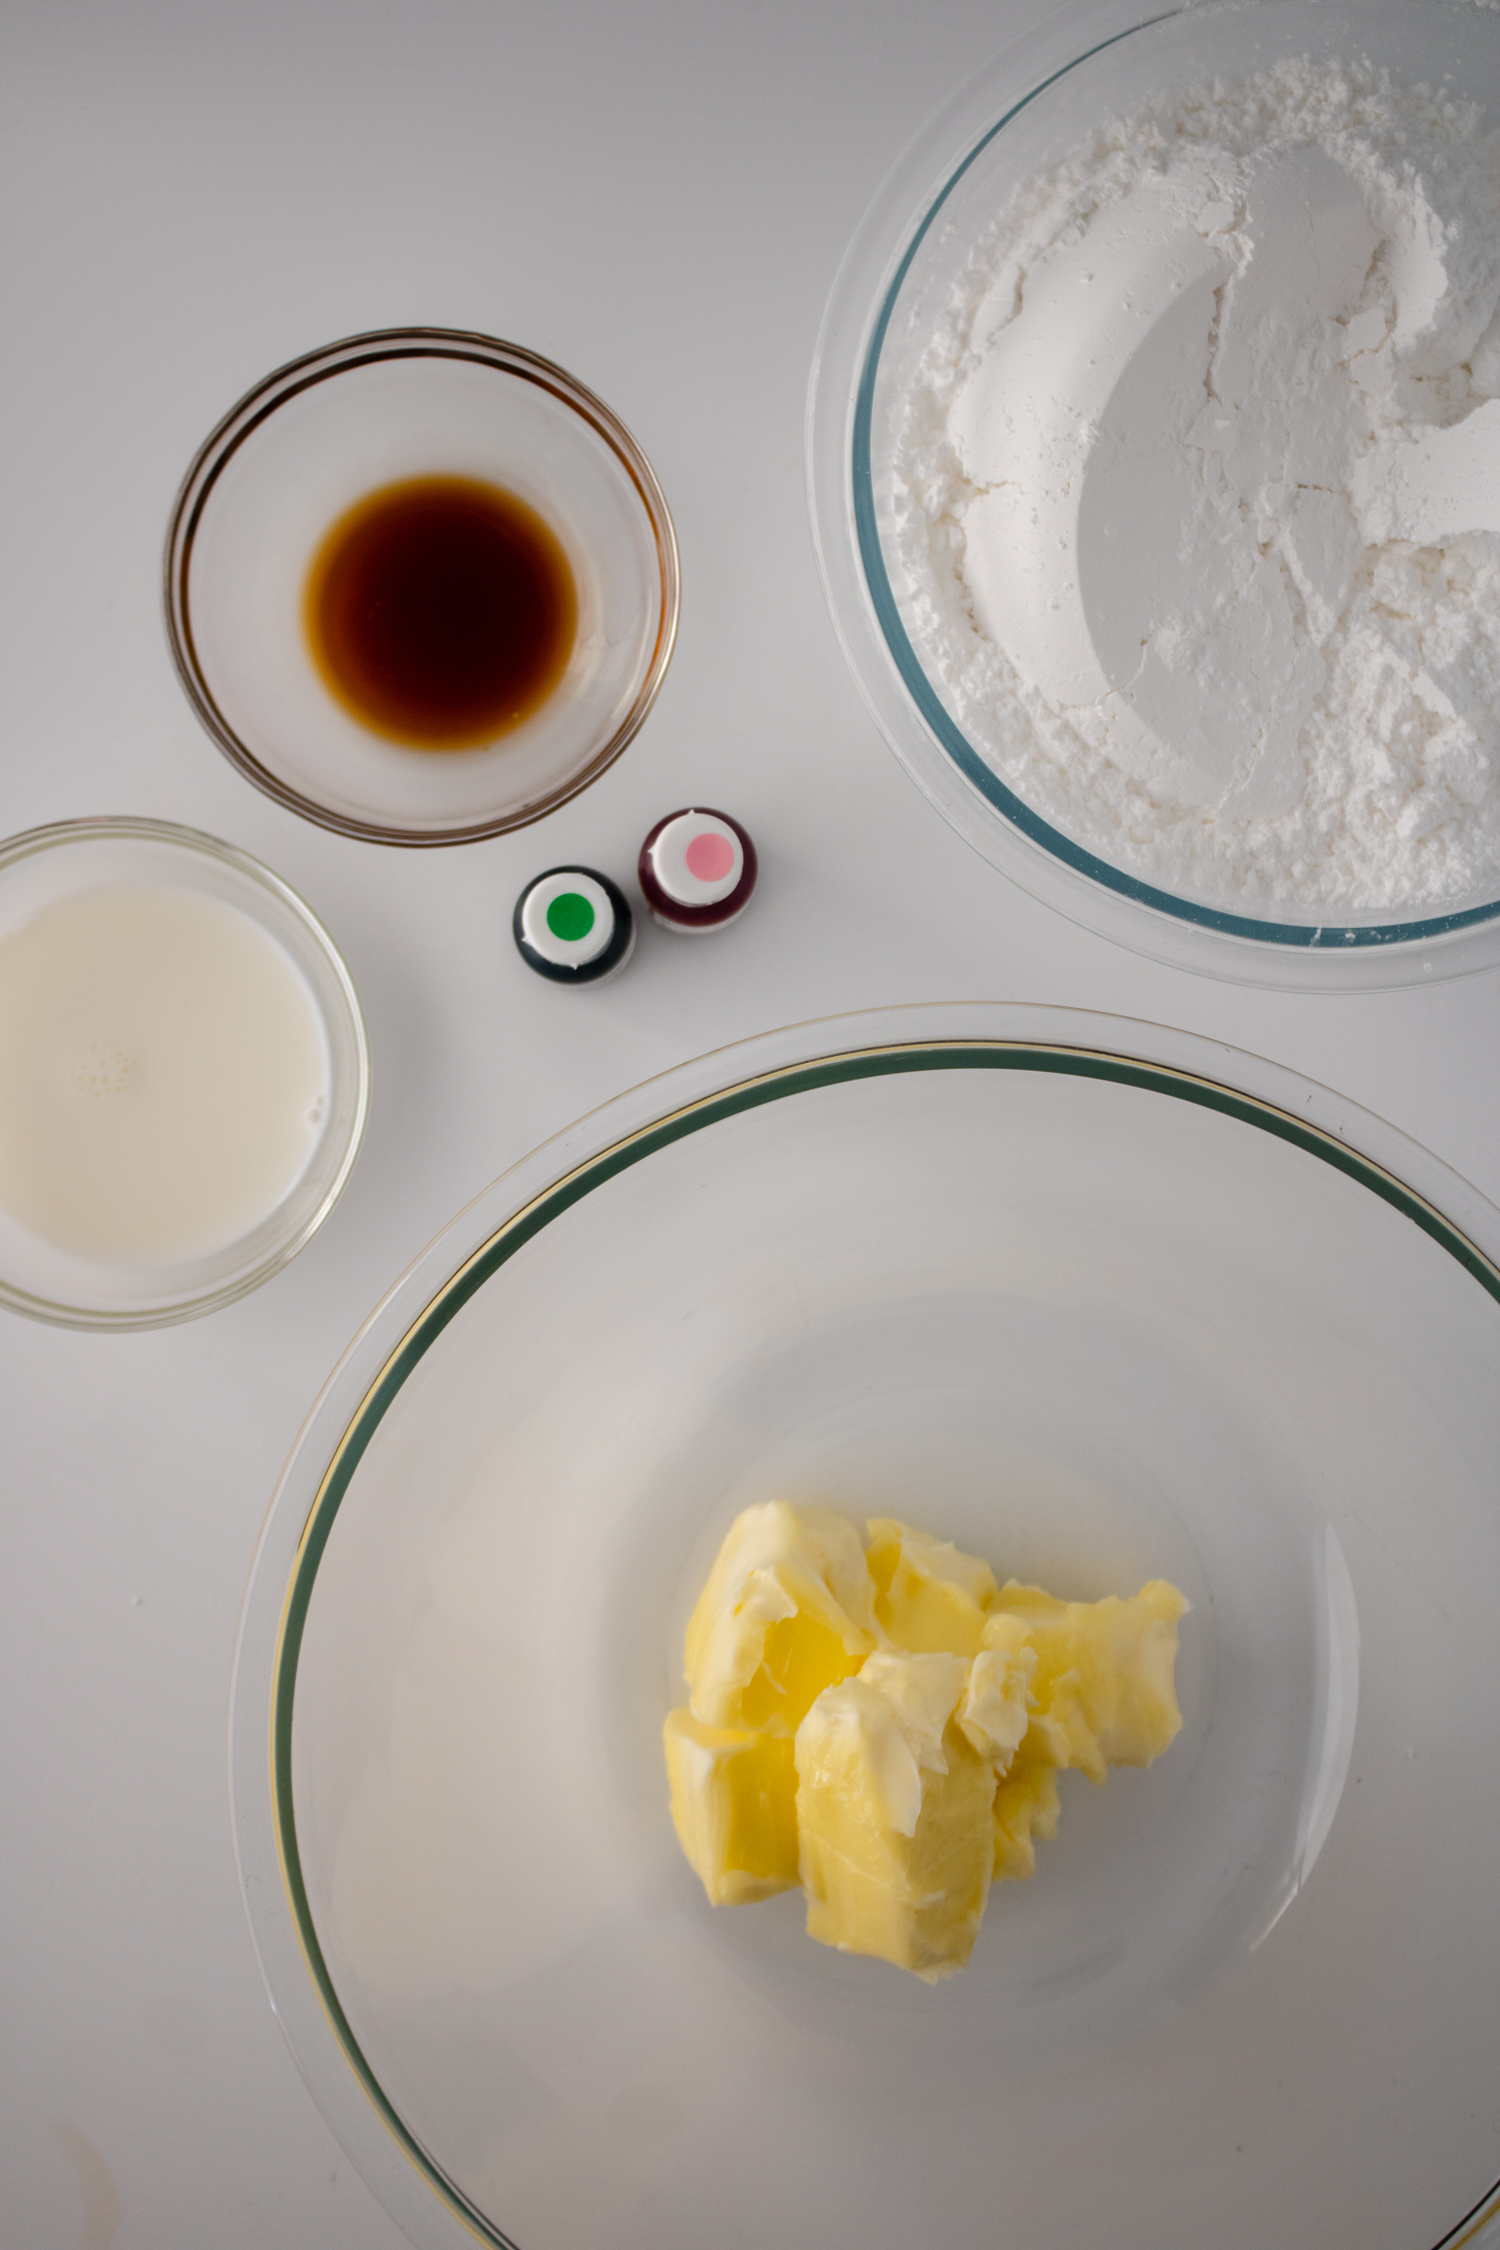
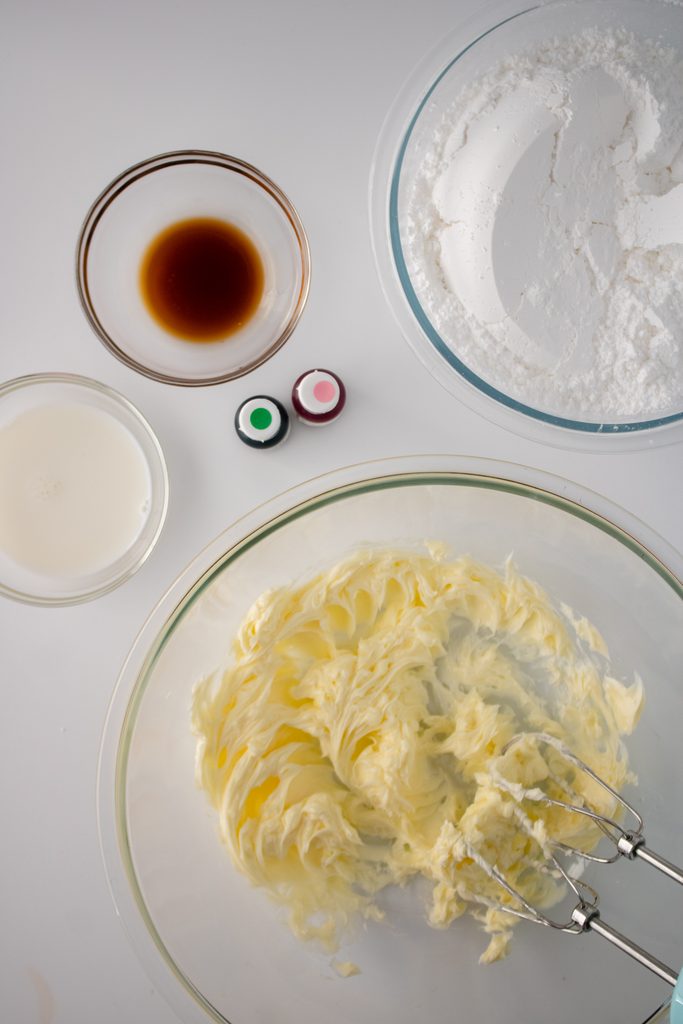
Beat the room-temperature butter and vegetable shortening together until they are creamy and evenly combined.
Add the powdered sugar, vanilla extract, and 1 tablespoon of heavy cream, milk, or coffee creamer. Begin mixing on low speed so the powdered sugar stays in the bowl. Once the sugar is incorporated, increase the mixer speed and beat the frosting for 3 to 5 minutes.
If the buttercream is still too thick to spread smoothly, add more liquid a little at a time. You may use up to 1 additional tablespoon, but do not add it all automatically. The amount needed will depend on the temperature, humidity, and consistency of the buttercream.
The finished frosting should be smooth enough to spread but firm enough to hold the piped lettering.
Color the Frosting
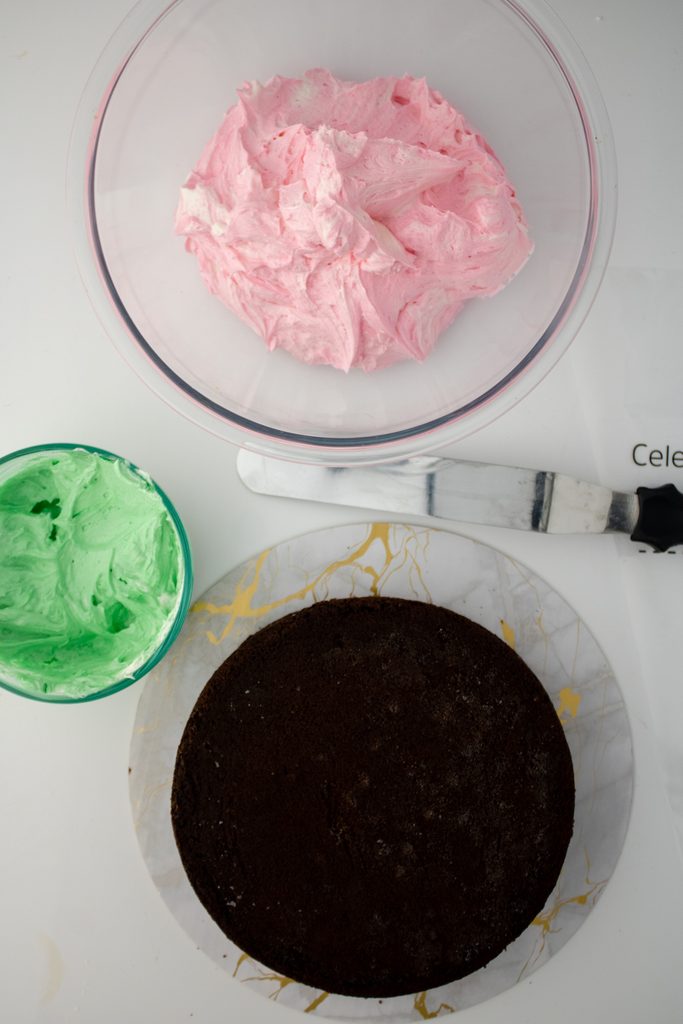
Remove approximately ¼ cup of buttercream and color it green. This will be used for the lettering.
Color the remaining buttercream pink. Begin with a small amount of gel coloring and add more until you reach the shade you want. Gel colors become stronger as they sit, so give the frosting a moment before adding a large amount of additional color.
Frost the Cake
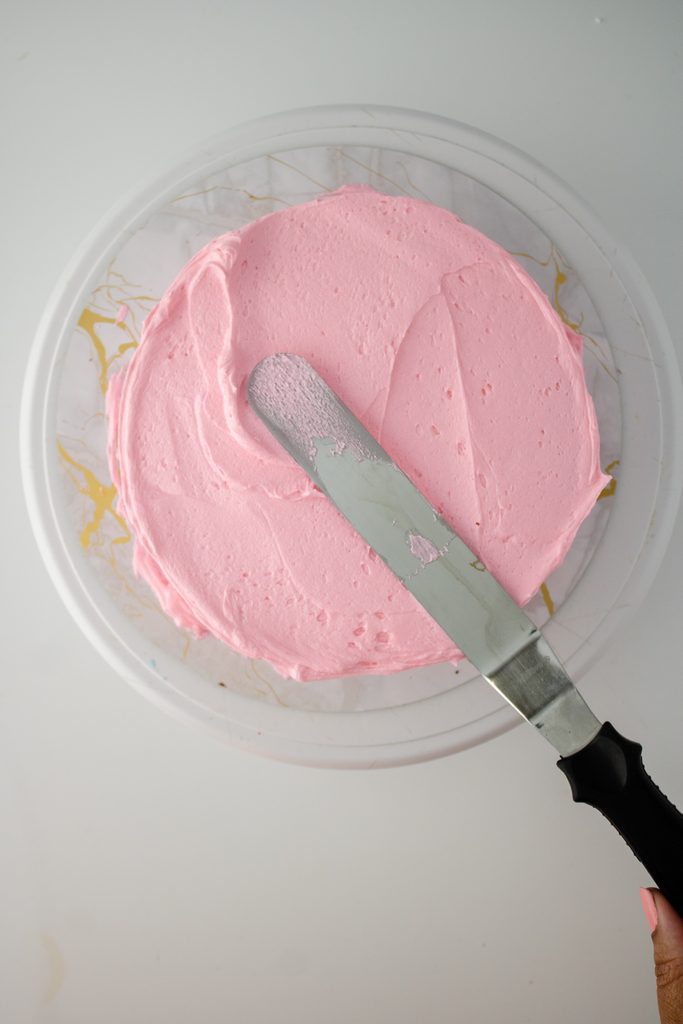
Place the frozen cake on an 8-inch cake board or serving plate. Add the pink buttercream to the top of the cake and spread it across the surface and around the sides with an offset spatula.
The frosting should look rustic rather than perfectly polished. Small spatula marks and slight variations in the surface help the cake resemble the handmade version that inspired it.
Pipe “Happee Birthdae Harry”
Fit a piping bag with a #10 round piping tip and fill it with the green buttercream.
Before piping, you can lightly plan the position of the three lines or write the message on a small piece of paper to use as a visual guide.
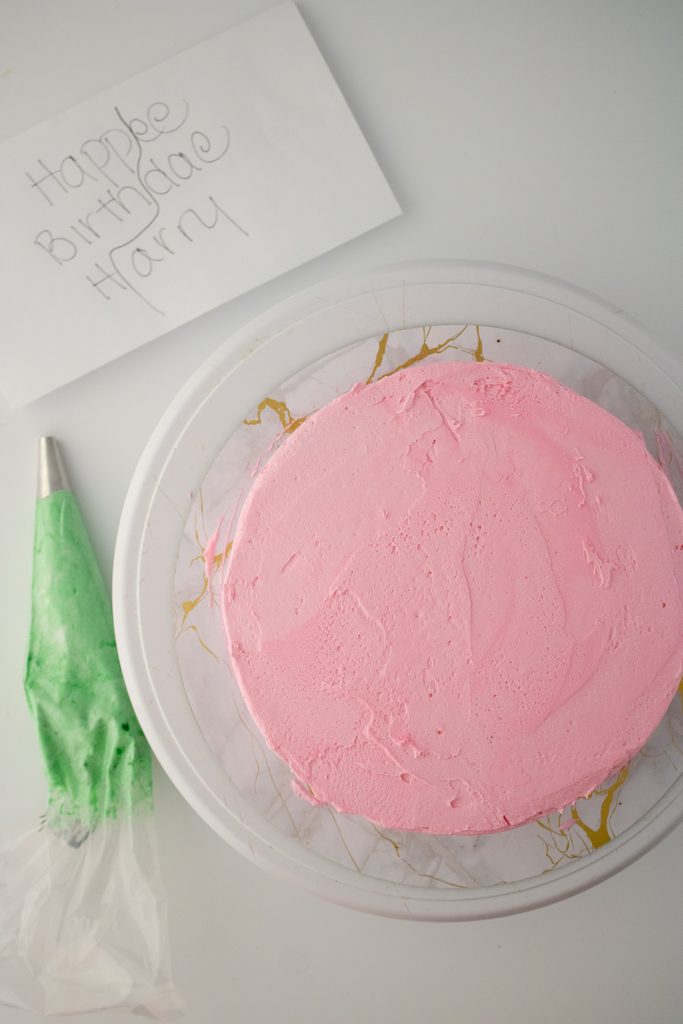
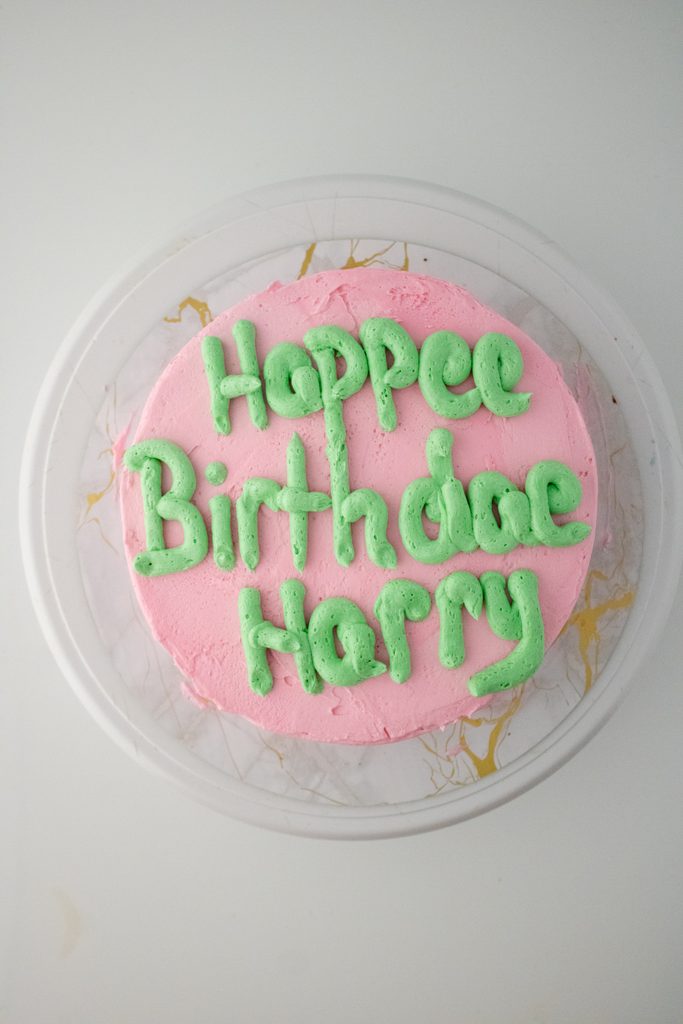
Pipe the middle word, “Birthdae,” first. Centering the longest word helps establish the spacing for the rest of the message.
Pipe “Happee” above it and “Harry” below it. Keep the lettering thick, rounded, and slightly irregular. The goal is a charming handmade appearance, not formal calligraphy.
Add the Decorative Cracks
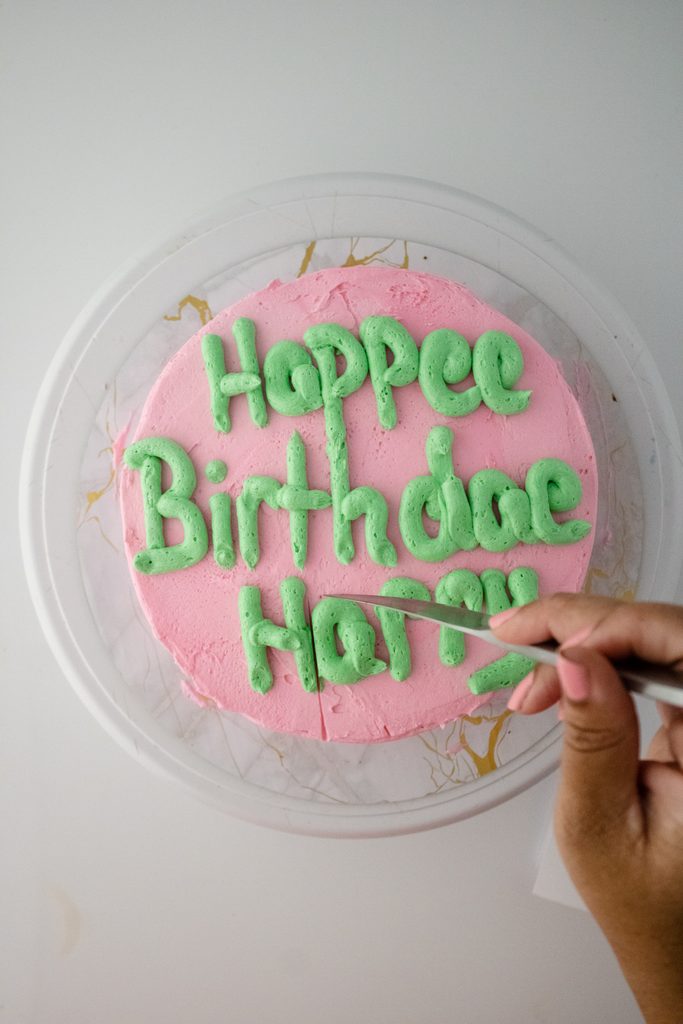
Use the tip of a small knife to make shallow lines in the frosting. Do not slice deeply into the cake. You only need to disturb the surface of the buttercream.
Add a few short vertical and angled lines around the lettering. Keep the placement irregular so the cracks look natural.

Tips for Decorating the Cake Successfully
Work With a Cold Cake
A chilled or frozen cake is firmer and produces fewer crumbs while you frost it. Allow the finished cake to thaw before serving.
Add the Buttercream Liquid Gradually
Begin with 1 tablespoon. Add more only if the buttercream is too stiff. Adding too much liquid at once can make the frosting too soft to hold the piped lettering.
Use Gel Food Coloring
Gel coloring creates stronger pink and green shades without thinning the frosting.
Start With the Middle Word
“Birthdae” is the longest word. Piping it first makes it easier to center the entire message.
Let the Lettering Look Handmade
Do not repeatedly scrape away and repipe letters in search of perfection. Thick, slightly uneven letters are part of the design.
Can I Make This Cake Ahead?
Yes. The cake layer can be baked, cooled, wrapped, and frozen in advance. You can also prepare the buttercream ahead and refrigerate it in an airtight container.
Bring refrigerated buttercream back to room temperature and mix it briefly before coloring or using it.
The decorated cake can be stored covered in the refrigerator. Allow it to sit at room temperature before serving so the cake and buttercream have time to soften.
Can I Use a Homemade Chocolate Cake?
Yes. You can replace the enhanced cake mix with your favorite chocolate cake recipe as long as it produces one sturdy 8-inch layer.
A very soft cake may be more difficult to frost while fresh, so chill or freeze the layer before decorating.
Can I Use All Butter in the Frosting?
You can replace the shortening with an equal amount of butter, but the frosting will be softer and may develop a more noticeable yellow tone. The butter-and-shortening combination provides a balance of flavor and stability.
Do I Have to Freeze the Cake Overnight?
Freezing overnight is the tested method and makes the cake easier to frost, but it is not the only option. At minimum, the cake should be completely cool and firm before decorating.
The Finished Harry Potter Birthday Cake
Once the lettering and decorative cracks are complete, the cake is ready for your celebration. The intentionally rustic finish is exactly what makes this project approachable. You do not need professional cake-decorating experience to create a recognizable and memorable Harry Potter-inspired birthday cake.
Fan-inspired tutorial notice: This is an independent fan-inspired cake tutorial created for educational purposes. It is not affiliated with or endorsed by the creators or rights holders of the Harry Potter franchise.
Hagrid-Inspired Harry Potter Birthday Cake
Ingredients
Equipment
Method
- Preheat the oven to 350°F. Coat one 8 × 2-inch round cake pan with baking spray.
- Add the chocolate cake mix, eggs, vegetable oil, water, and sour cream to a large mixing bowl. Mix until smooth and fully combined.
- Pour the batter into the prepared pan. Bake for 35 to 40 minutes, or until a toothpick inserted near the center comes out clean or with a few moist crumbs.
- Allow the cake to cool completely. Cover or wrap the cake and freeze it overnight for easier decorating.
- To make the buttercream, beat the softened butter and vegetable shortening together until creamy and evenly combined.
- Add the powdered sugar, vanilla extract, and 1 tablespoon of heavy cream, milk, or coffee creamer. Mix on low speed until the powdered sugar is incorporated.
- Increase the mixer to high speed and beat for 3 to 5 minutes. If the buttercream is too thick, add up to 1 additional tablespoon of liquid, a little at a time.
- Remove approximately ¼ cup of buttercream and color it green. Color the remaining buttercream pink.
- Place the frozen cake on a cake board or serving plate. Cover the top and sides with the pink buttercream. Keep the finish slightly rustic.
- Fit a piping bag with a #10 round tip and fill it with the green buttercream.
- Pipe “Birthdae” across the center of the cake. Pipe “Happee” above it and “Harry” below it.
- Use the tip of a small knife to make shallow decorative lines in the buttercream. Do not cut deeply into the cake.
- Allow the cake to thaw before serving.