How to Blind Bake a Pie Crust
If you’ve ever wondered how to achieve that perfectly crisp and golden pie crust, you’re in the right place. Blind baking, or pre-baking, is a technique that ensures your pie crust is baked to perfection, especially when the filling doesn’t require a lot of oven time. Whether you’re making a custard pie, quiche, or a no-bake filling, mastering this technique will elevate your baking game.
Why Blind Baking is Essential
Blind baking is particularly important for pies with fillings that don’t require baking or only need a short time in the oven. Without this step, your pie crust could end up soggy or undercooked. By blind baking, you’re setting the foundation for a sturdy, crispy crust that can hold up to any filling.
Who This Recipe is For
This recipe is perfect for home bakers who want to improve their pie-making skills. Whether you’re a beginner looking to create your first homemade pie or an experienced baker aiming for consistency, blind baking is a skill you’ll want in your repertoire. It’s also ideal for those who enjoy making no-bake pies or quiches, where the crust needs to be pre-baked.
Ingredients and Equipment
Ingredients:
- Pie dough (homemade or store-bought)
- Pie weights (or dried beans)
- All-purpose flour (for rolling out the dough)
Kitchen Equipment:
- 9-inch pie dish
- Rolling pin
- Pizza cutter (optional for dough strip technique)
- Parchment paper
- Fork
- Plastic wrap (for chilling)
- Oven (preheated to 375°F/190°C)
Step-by-Step Instructions
1. Prepare Your Pie Dough
Start by preparing your pie dough. If you’re using a homemade recipe, ensure the dough is well-chilled for at least 2 hours. This resting period is crucial as it helps relax the gluten, making the dough easier to roll out and reducing the chances of it shrinking in the oven.
2. Roll Out the Dough
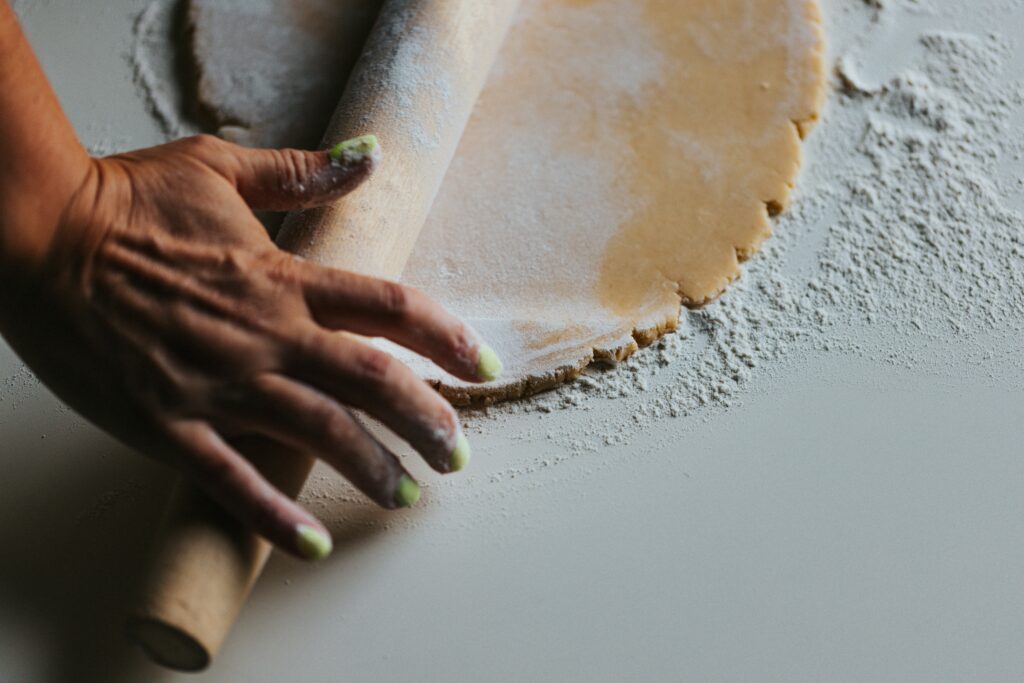
On a floured surface, roll out one disc of chilled dough to about 12 inches in diameter. This should be large enough to fit a 9-inch pie dish with some overhang. Rotate the dough slightly after every few rolls to maintain an even thickness. Carefully transfer the dough to your pie dish, tucking it in with your fingers to ensure it’s smooth and well-fitted.
3. Optional Dough Strip Technique
To prevent the sides from shrinking and to ensure a thick, sturdy crust, consider adding a second layer of dough to the edges. Roll out the second disc of dough, slice it into 1- or 2-inch strips using a pizza cutter, and arrange these strips around the edges of your pie. Press the strips into the existing crust and crimp or flute the edges to seal. This extra layer provides additional support, especially for pies with heavy fillings.
4. Chill the Dough
Once your dough is shaped in the pie dish, refrigerate it for at least 30 minutes. This step helps the dough firm up, reducing the chances of shrinking during baking. If you’re not planning to bake immediately, you can chill the dough for up to 5 days or freeze it for up to 3 months. If freezing, wrap the dough tightly in plastic wrap to prevent freezer burn. Thaw frozen dough in the refrigerator before proceeding.
5. Preheat Your Oven
While the dough is chilling, preheat your oven to 375°F (190°C). This ensures your oven is at the right temperature when you’re ready to bake.
6. Line and Fill the Crust
Line your chilled pie crust with parchment paper. A helpful tip is to crumple the parchment paper before placing it in the pie dish; this makes it easier to mold to the shape of the crust. Fill the crust with pie weights or dried beans, making sure to press the weights against the sides of the crust. This will help prevent the crust from puffing up and the sides from collapsing.
7. Blind Bake the Crust
Place the pie dish in your preheated oven and bake for 15-16 minutes, or until the edges are just beginning to brown. Carefully remove the pie from the oven and lift out the parchment paper along with the weights. Prick the bottom of the crust with a fork to prevent any air bubbles from forming.
8. Finish Baking
Return the crust to the oven. If you need a fully baked crust, bake for an additional 14-15 minutes until the bottom is golden brown. For a partially baked crust, which is ideal if you’re planning to bake the pie further after filling, bake for 7-8 minutes until the bottom is just starting to brown.
Storing and Reusing Leftover Dough
If you have leftover pie dough, don’t throw it away! Wrap it tightly in plastic wrap and freeze it for up to 3 months. This dough can be used for future pie crusts, decorative cutouts, or even mini tartlets.
FAQs
Q: Can I use store-bought pie dough?
A: Absolutely! While homemade pie dough offers a superior texture and flavor, store-bought dough works just as well for blind baking.
Q: What can I use if I don’t have pie weights?
A: If you don’t have pie weights, dried beans or uncooked rice are excellent alternatives. Just be sure to reserve these for blind baking purposes only, as they won’t cook properly afterward.
Q: Why did my pie crust shrink?
A: Shrinking usually happens if the dough wasn’t chilled enough or if it was overworked during rolling. Make sure to chill your dough adequately and avoid stretching it when placing it in the pie dish.
Q: How do I store a blind-baked pie crust?
A: A fully baked pie crust can be stored at room temperature for up to 2 days. For longer storage, wrap it in plastic wrap and refrigerate for up to 5 days, or freeze for up to 3 months.
Food and Drink Pairings
The beauty of a well-baked pie crust is its versatility. Pair a no-bake pie like a chocolate cream pie with a rich coffee or a dessert wine for a decadent treat. Quiches or savory pies made with blind-baked crusts are excellent when served with a light salad and a crisp white wine, like a Chardonnay or Sauvignon Blanc.
Final Chef Thoughts
Blind baking a pie crust might seem like an extra step, but it’s one that’s well worth the effort. By following these instructions, you’ll achieve a perfect pie crust every time—whether it’s for a creamy custard, a fruit filling, or a savory quiche.
If you found this guide helpful, please share it with your fellow baking enthusiasts and subscribe to our blog for more tips, recipes, and kitchen inspiration. Happy baking!
Bake Better with our FREE Master Class for beginning bakers:

PIN for Later
