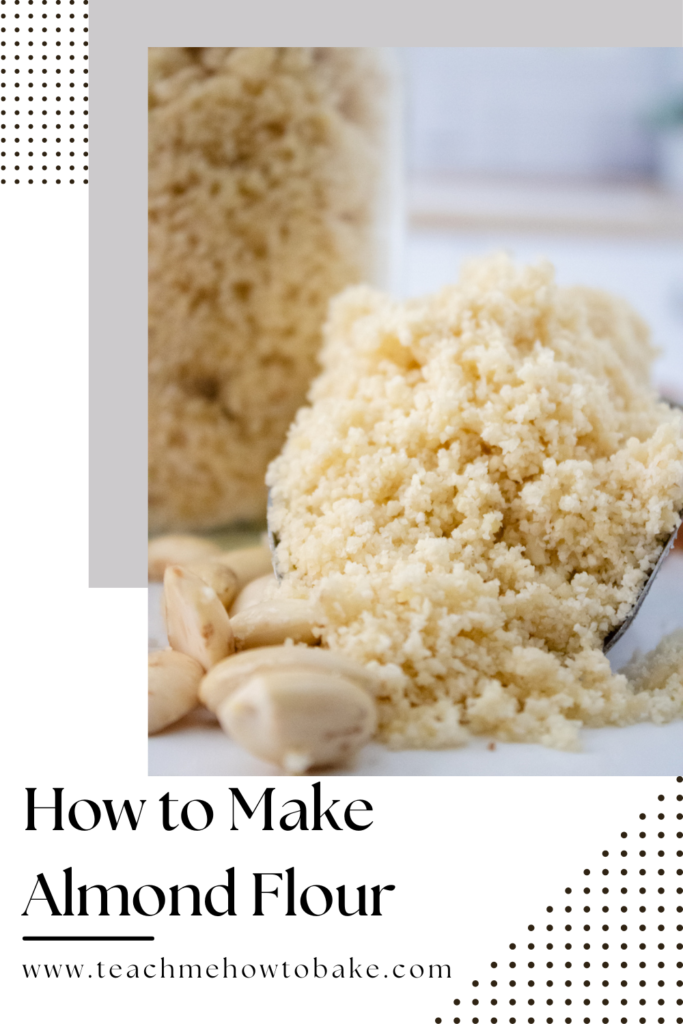
How to Make Almond Flour
Discover how to make homemade almond flour easily using raw or blanched almonds. This comprehensive guide provides step-by-step instructions, tips, and storage recommendations. Elevate your gluten-free baking with the delightful nuttiness of almond flour. Subscribe to our blog for more delicious recipes and culinary inspiration.
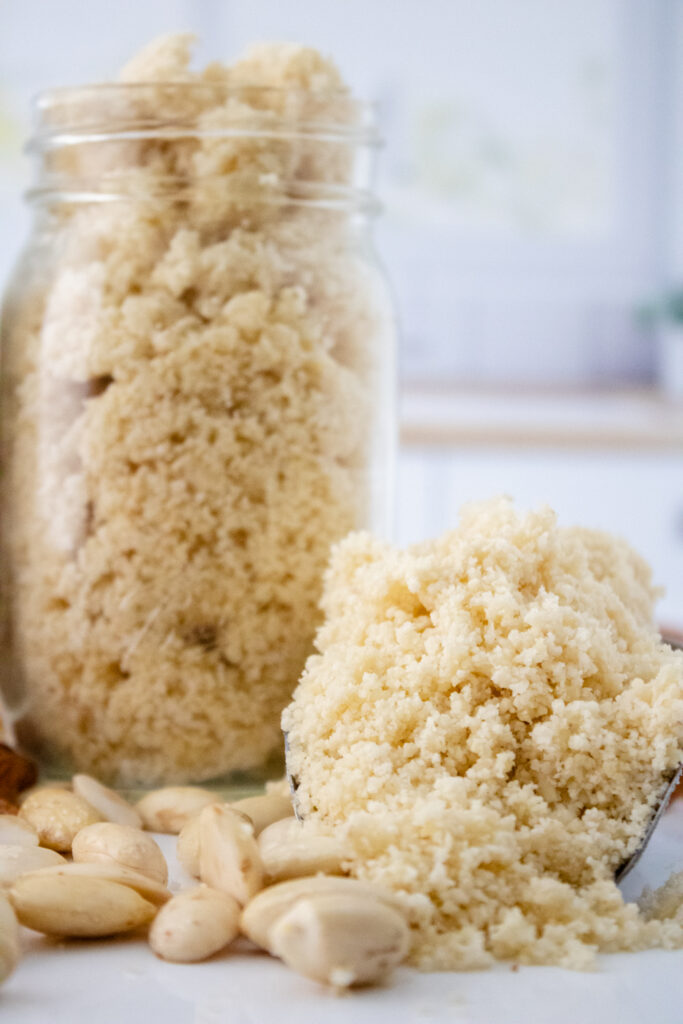
Are you looking for a gluten-free alternative to regular flour? Or perhaps you want to add a touch of nuttiness to your baked goods? Look no further than almond flour! In this comprehensive guide, we will walk you through the simple process of making almond flour from scratch. Whether you prefer raw almond flour or blanched almond flour, we have you covered. So let’s grab our food processor, don our aprons, and dive into the world of almond flour!
Kitchen Equipment
Before we get started, let’s make sure we have all the necessary kitchen equipment on hand:
- Food Processor with the blade attachment
- Silicone spatula
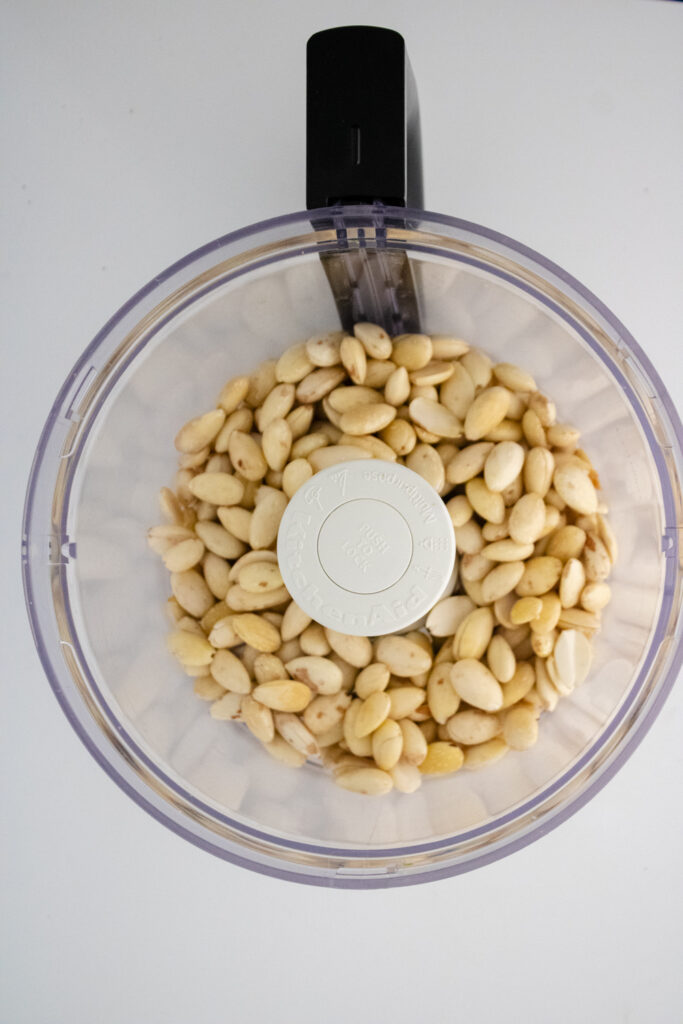
Having these tools at your disposal will make the process of making almond flour a breeze.
The Benefits of Almond Flour
Almond flour is a versatile ingredient that offers numerous benefits. Not only is it naturally gluten-free, but it also adds a delightful nutty flavor and a moist texture to baked goods. Additionally, almond flour is packed with nutrients, including healthy fats, protein, and fiber. It’s a great choice for those following a low-carb or paleo diet, as well as individuals with gluten sensitivities. By making your own almond flour at home, you have full control over the quality and freshness of the ingredients, ensuring a superior final product.
Recipe Details
Prep: 5 minutes – 6 hours
Active Time: 5 minutes
Total Time: 10 minutes – 6 hours and 10 minutes
Yield: About 15 cups
Ingredients:
- 30 oz Raw or blanched almonds
- Water (if soaking them)
Instructions for Making Raw Almond Flour or Almond Meal
- Add the almonds to the food processor.
- Blend for 5-7 minutes, stopping halfway to move the nuts around. This helps ensure even processing.
- Once the almonds have turned into a fine flour, remove the almond flour from the food processor.
Instructions for Blanching Almonds Before Making Flour
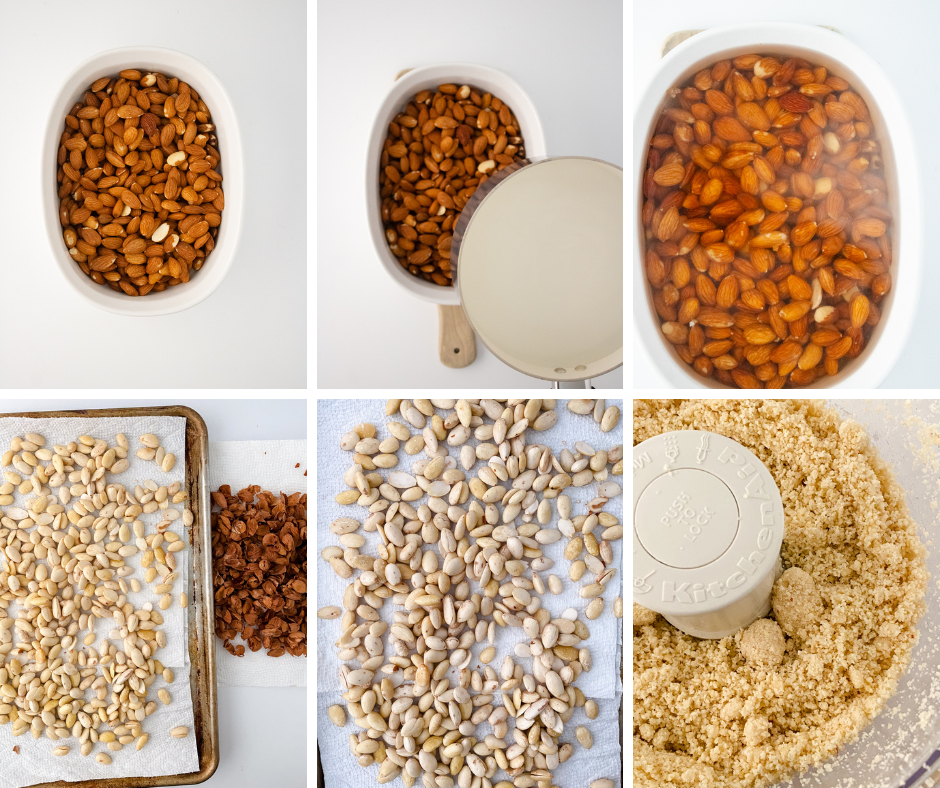
- Add 2 cups of water to a pot and bring it to a boil.
- Remove the pot from the heat and immediately pour the boiling water over the almonds.
- Let the almonds sit in the hot water for 2 minutes.
- Rinse the almonds with cold water and transfer them to a bowl of cold water.
- Allow the almonds to soak in the cold water for 5-6 hours or until the skins easily peel off.
- Drain the almonds and let them dry for a few hours on paper towels.
- Once the almonds are dry, add them to the food processor and blend until you achieve a fine flour consistency.
Notes for Storage and Usage of almond flour
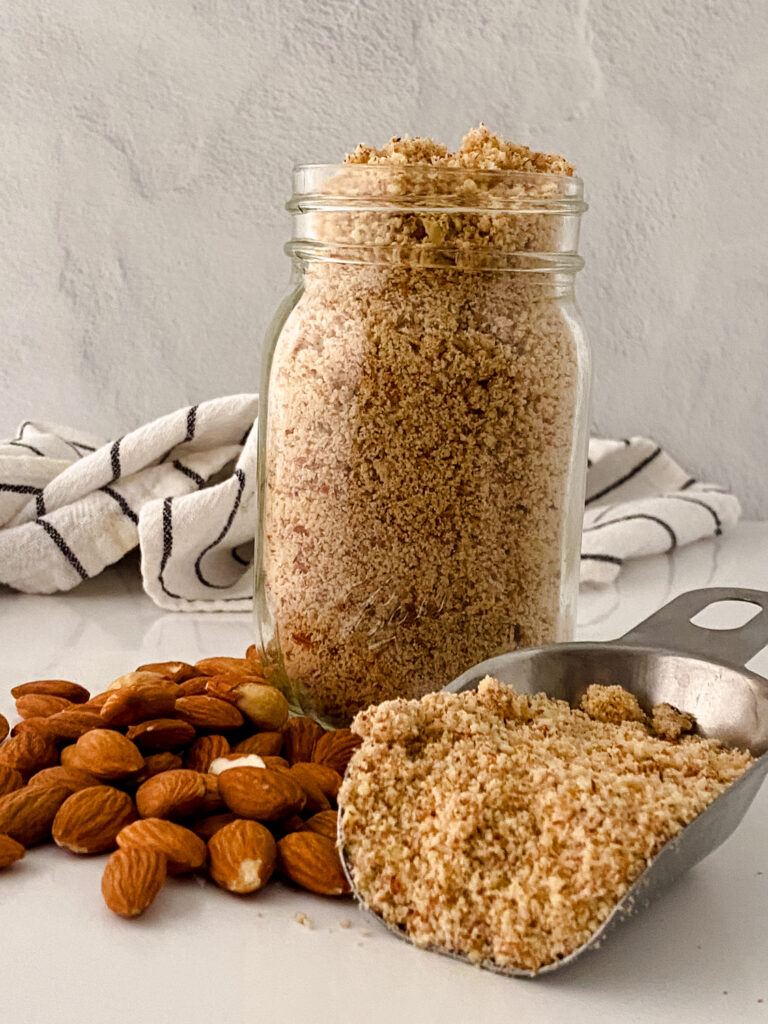
- If you plan to use the almond flour immediately, store any leftovers in an airtight container in a dark space, such as a pantry, for up to 2 weeks.
- If you’re not using all the almond flour right away, it’s best to store it in an airtight container in the freezer for up to a month. When you’re ready to use it, remove the almond flour from the freezer and allow it to come to room temperature before incorporating it into your recipes.
Frequently Asked Questions (FAQs)
Q: Can I use almond meal instead of almond flour?
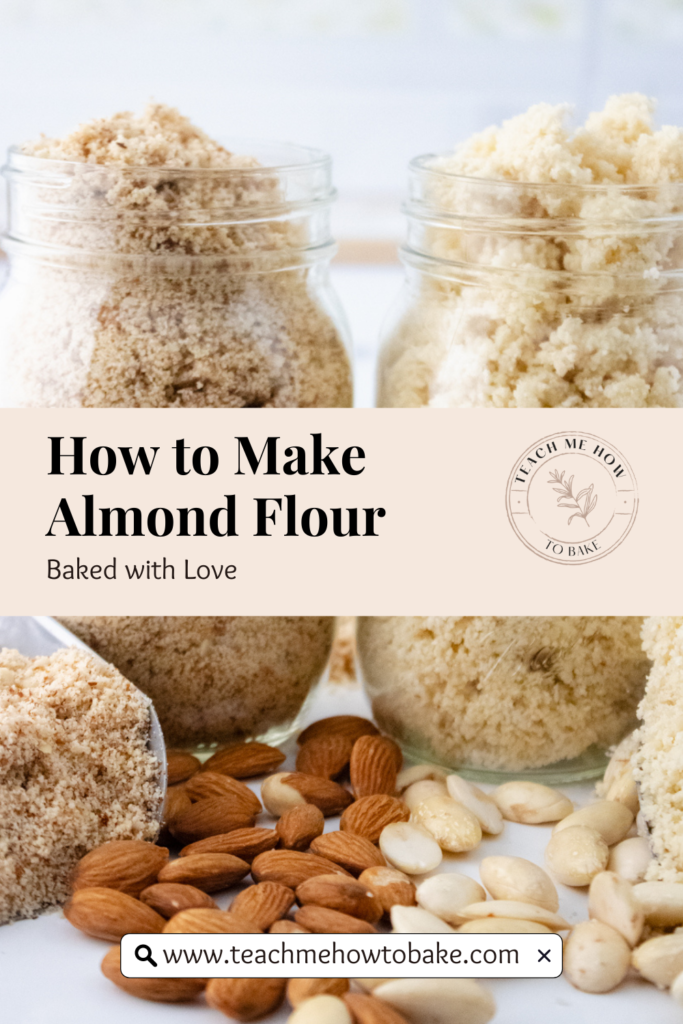
A: Yes, you can use almond meal as a substitute for almond flour in most recipes. However, keep in mind that almond meal is slightly coarser because it contains the skins of the almonds. This texture may affect the final outcome of your baked goods, resulting in a denser and more rustic texture. Almond flour, on the other hand, is made from blanched almonds, which have had the skins removed, resulting in a finer texture. If a delicate and smooth texture is crucial for your recipe, it’s recommended to use almond flour.
Q: Can I make almond flour with other nuts?
A: While this recipe specifically focuses on making almond flour, you can apply a similar process to other nuts as well. Cashews, hazelnuts, and macadamia nuts are popular choices for making homemade nut flours. Each nut will have its own unique flavor profile, so feel free to experiment and discover new combinations that suit your taste preferences.
Q: Can I use almond flour in savory dishes?
A: Absolutely! Almond flour can be a fantastic addition to savory dishes too. It works well as a gluten-free coating for chicken or fish, adding a crispy and flavorful crust. You can also use almond flour in meatball recipes, as a thickener for sauces and gravies, or even as a base for savory tarts and quiches. The nuttiness of the almond flour adds a delightful depth of flavor to savory creations.
Q: Can I make almond flour without a food processor?
A: While a food processor is the most efficient tool for making almond flour, it is possible to achieve a similar result using a high-powered blender. Simply pulse the almonds in small batches until you achieve the desired consistency. However, be cautious not to over-process the almonds, as this may result in almond butter rather than flour.
Let Us know if you make almond flour at home!
Congratulations! You are now equipped with the knowledge and skills to create your very own homemade almond flour. Whether you choose to make raw almond flour or blanched almond flour, the process is simple and rewarding. Not only does almond flour provide a gluten-free alternative to regular flour, but it also adds a delightful nutty flavor to your culinary creations. From fluffy pancakes to moist cakes and crispy cookies, almond flour opens up a world of delicious possibilities.
Remember to store any leftover almond flour properly, ensuring its freshness and quality. Whether you plan to use it immediately or save it for future baking adventures, an airtight container in a cool, dark place will keep your almond flour in excellent condition.
We hope you enjoy making and using your homemade almond flour. Don’t forget to share this recipe with your friends and family who appreciate the goodness of nutty delights. And if you’d like to receive more delectable recipes and culinary tips, be sure to subscribe to our blog. Happy baking!
PIN for Later