How to make Sourdough Discard Pretzels
There’s something undeniably comforting about the aroma of freshly baked bread wafting through the kitchen. Imagine that, coupled with the tantalizing scent of warm pretzels fresh out of the oven. Today, we’re diving into the world of homemade Sourdough Discard Pretzels – a delightful twist on the classic snack that breathes new life into your sourdough discard.
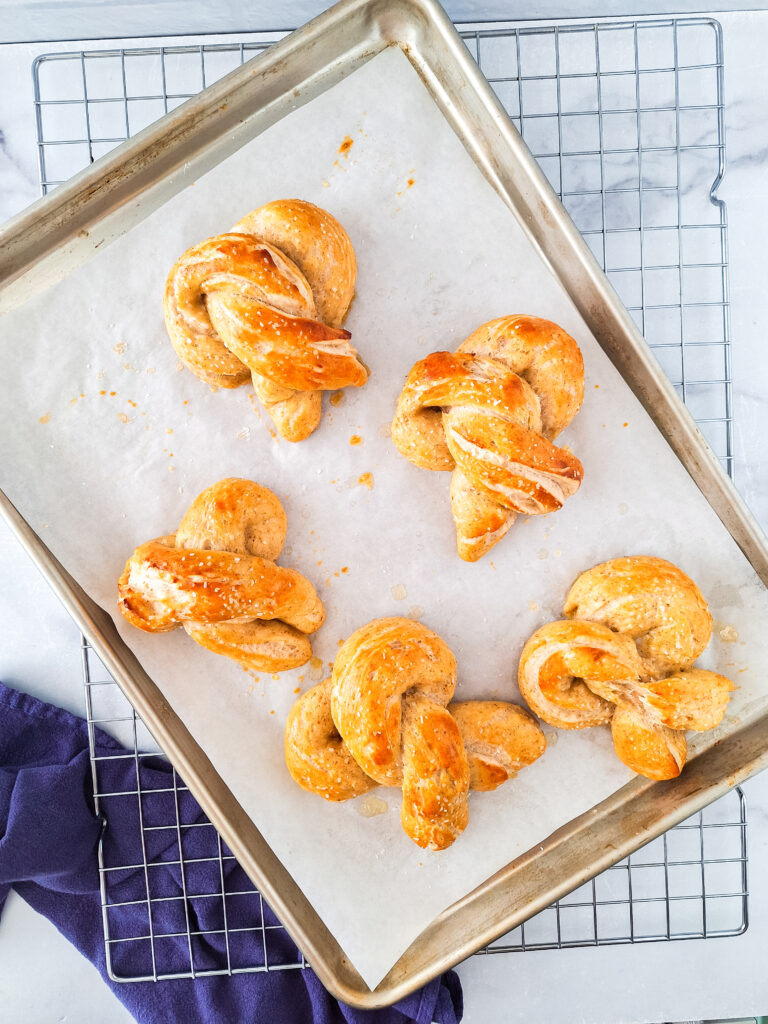
Who is this Recipe For?
Whether you’re an avid baker looking to put your sourdough discard to good use or a newbie in the kitchen eager to embark on a culinary adventure, this recipe is for you. Sourdough Discard Pretzels offer a perfect blend of simplicity and indulgence, making them an ideal treat for cozy evenings at home, weekend gatherings with friends, or even a fun baking project with the family.
Why it’s Great
1. Sustainable Baking:
By repurposing your sourdough discard, you’re minimizing food waste and maximizing flavor. These pretzels showcase the versatility of sourdough starter, turning what might have been discarded into a delicious snack.
2. Homemade Goodness:
There’s nothing quite like the satisfaction of biting into a warm, freshly baked pretzel straight from your own oven. Homemade pretzels allow you to customize flavors, experiment with toppings, and savor every moment of the baking process.
3. Versatile Enjoyment:
Whether you prefer your pretzels salty and savory or sweet and cinnamon-kissed, this recipe offers options to suit every palate. Pair them with mustard or cheese sauce for a savory twist, or indulge in a cinnamon sugar coating for a delightful dessert treat.
Kitchen Equipment
To embark on your Sourdough Discard Pretzel adventure, you’ll need:
- Stand Mixer* (Preferred but not fully necessary)
- Parchment Paper (2 sheets)
- Baking Sheets (2)
- Large Stock Pot
Ingredients
To make the Dough:
- 1 cup warm water
- 1 tbsp brown sugar
- 1 packet active dry yeast
- ¾ cup sourdough discard (unfed/mature), at room temperature
- 3 ½ – 4 cups all-purpose flour
- 1 tsp kosher salt
- 4 tbsp unsalted butter, melted
For Boiling:
- 10 cups water (enough to fill a pot)
- ⅔ cup baking soda
For Topping:
- 1 egg yolk + 1 tbsp water (egg wash)
- Kosher Salt for salted pretzels
- ½ cup granulated sugar + 1 tbsp cinnamon for cinnamon sugar pretzels
Instructions
- Activate the Yeast: In the bowl of a stand mixer, combine warm water and brown sugar. Sprinkle yeast over the mixture and let it sit for 5 minutes until foamy.

- Prepare the Dough: Add sourdough discard, flour, and salt to the bowl. Mix on low speed, then gradually pour in melted butter. Continue mixing until a smooth dough forms.
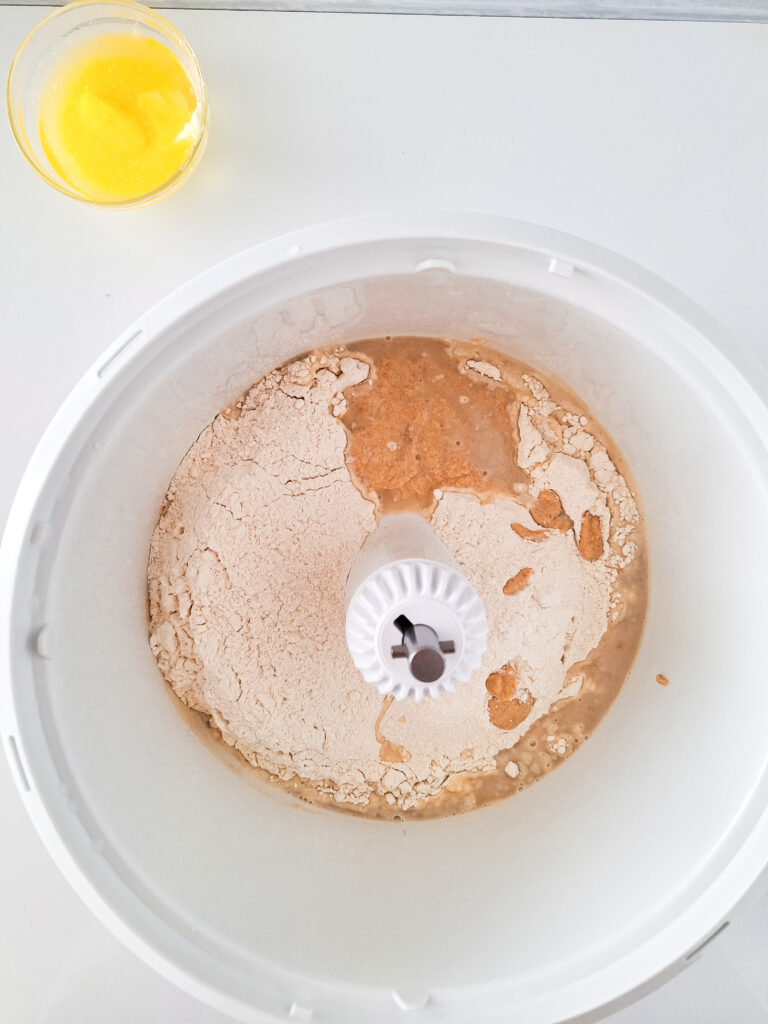
- Knead the Dough: Increase mixer speed to medium and knead for 4-5 minutes until the dough is smooth and elastic. Alternatively, knead by hand in a large bowl until the same consistency is achieved.
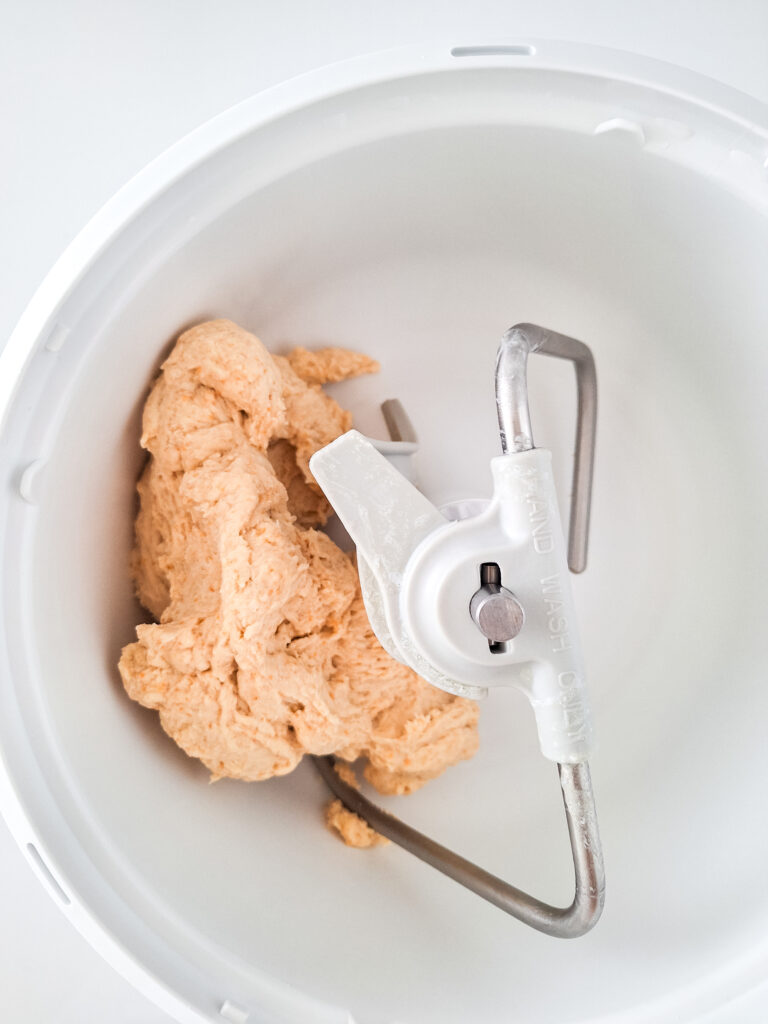
- Let the Dough Rise: Transfer the dough to a large, oiled bowl. Cover with plastic wrap and let it rise for 60-90 minutes, or until doubled in size.
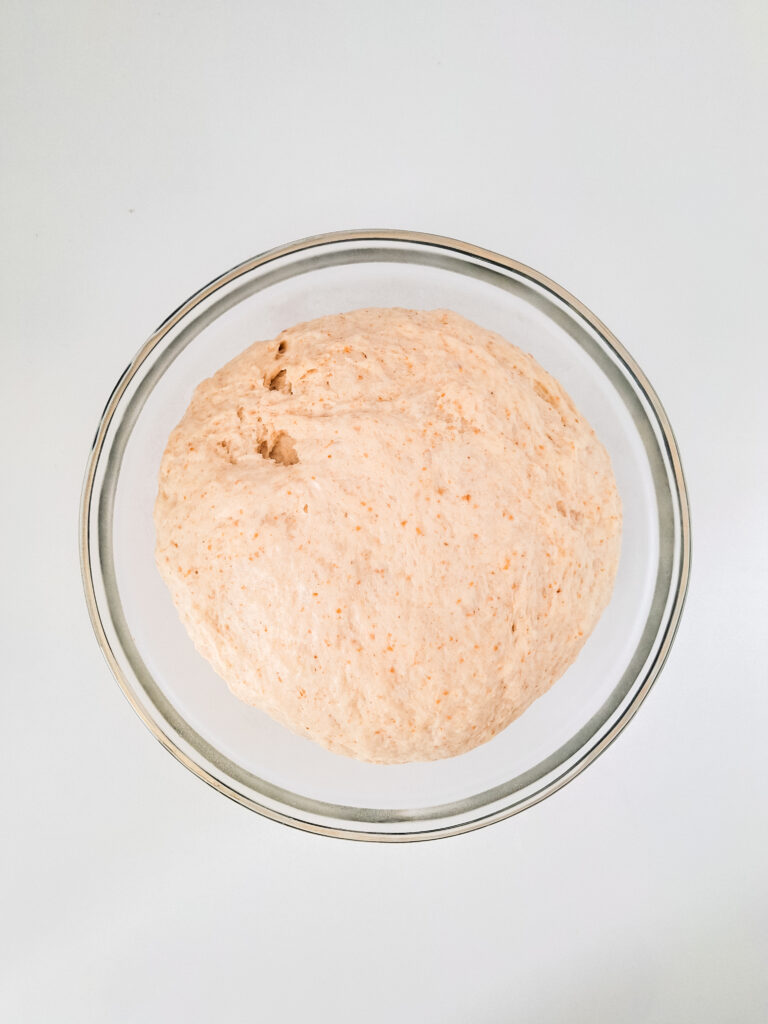
- Shape the Pretzels: Divide the dough into 8 equal pieces. Roll each piece into a 22-24-inch rope. Form a U-shape with each rope, then cross the ends over each other like a heart. Twist the ends together and press down at the bottom of the U.
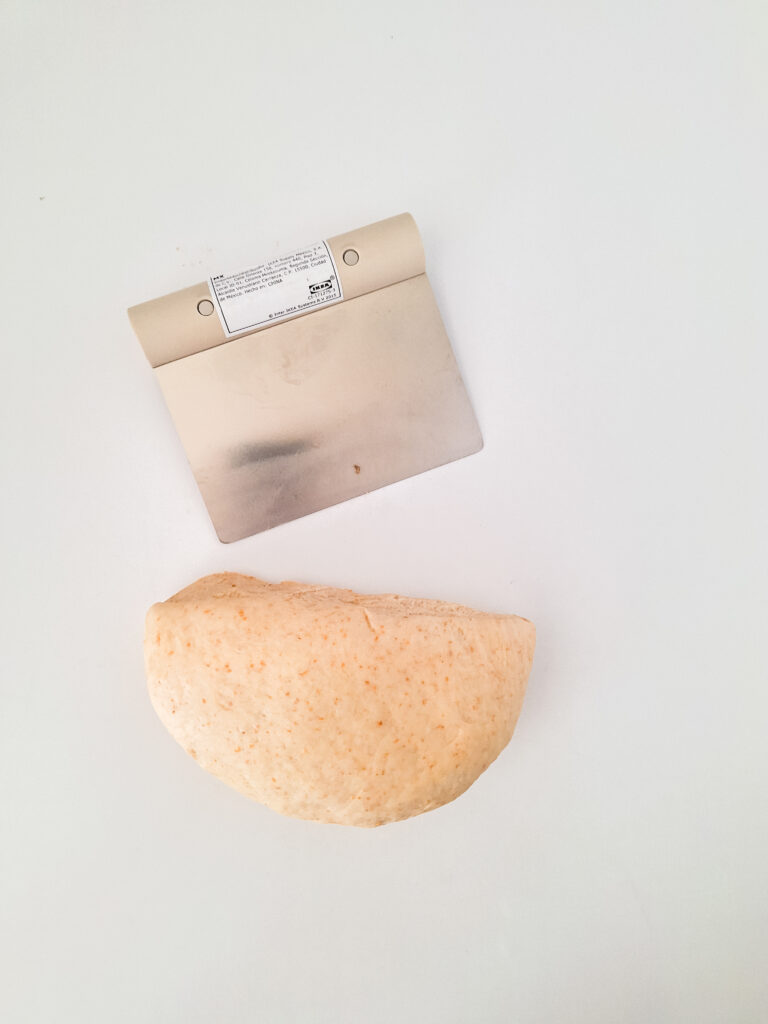
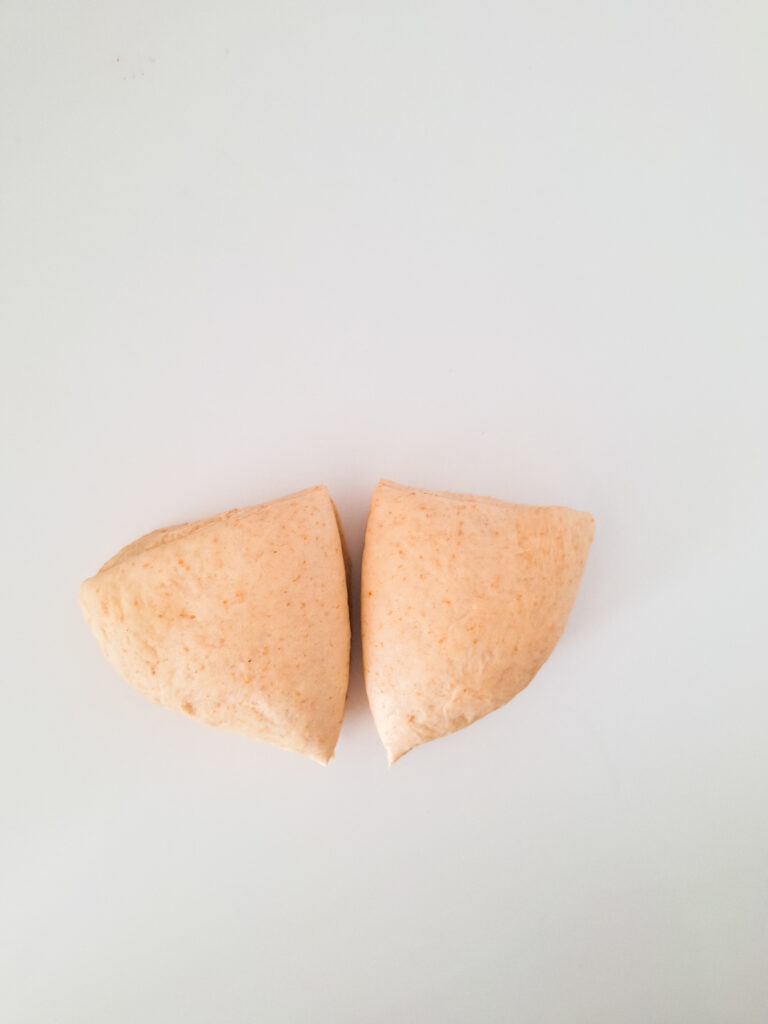
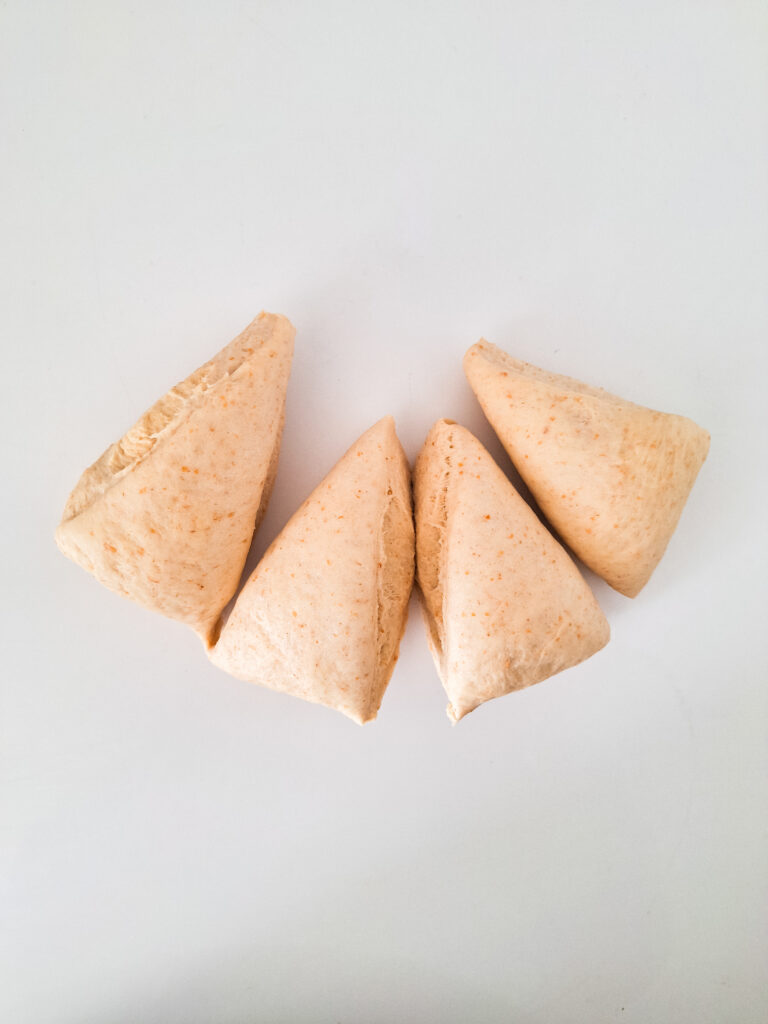
- Boil the Pretzels: Preheat the oven to 450°F. Bring water and baking soda to a boil in a large pot. Boil the pretzels, one or two at a time, for about 15 seconds on each side. Remove with a slotted spatula and place on a baking sheet lined with parchment paper.
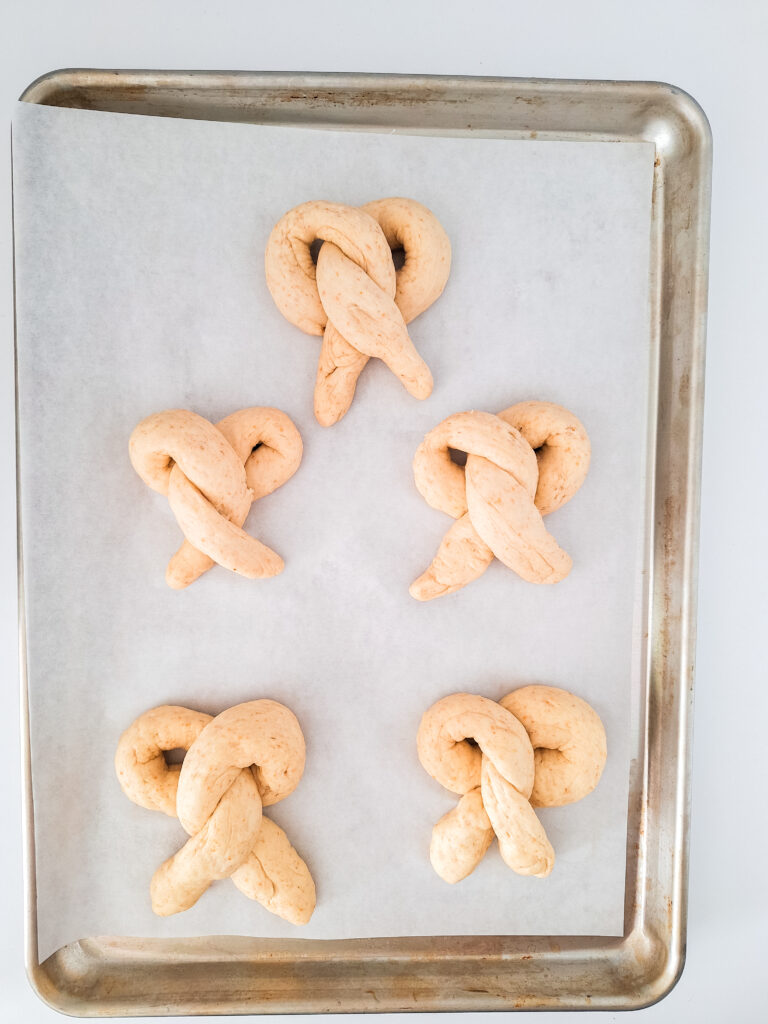
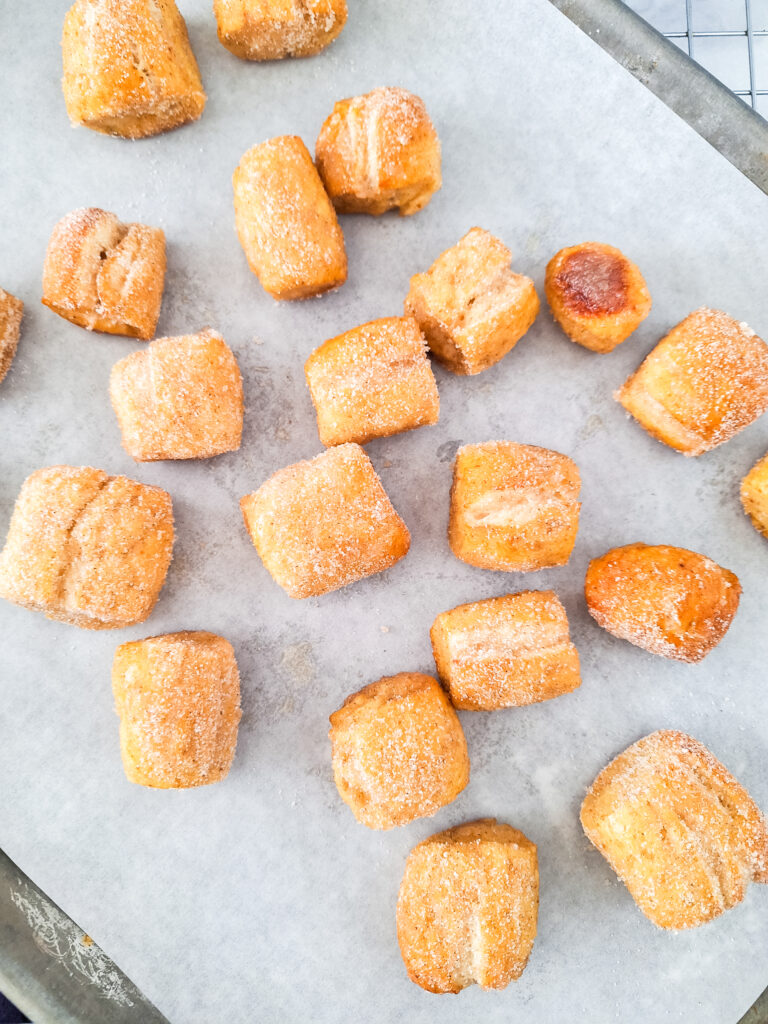
- Add Toppings: Brush each pretzel with egg wash and sprinkle with kosher salt for salted pretzels. For cinnamon sugar pretzels, skip the salt and coat with a cinnamon sugar mixture after baking.
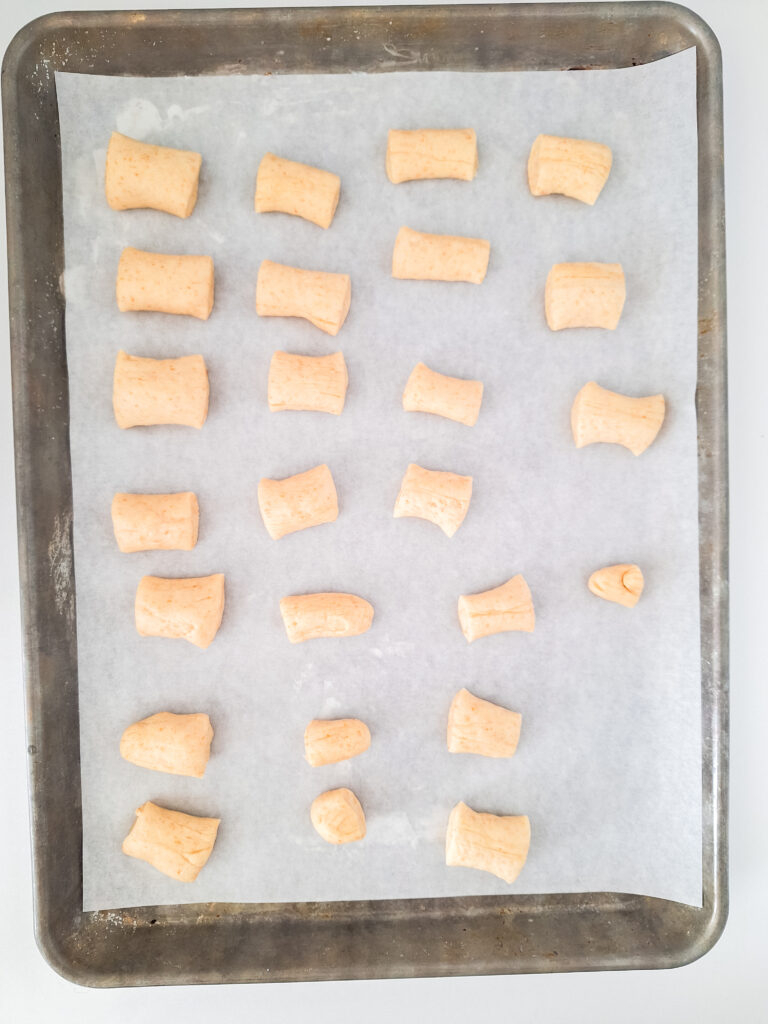
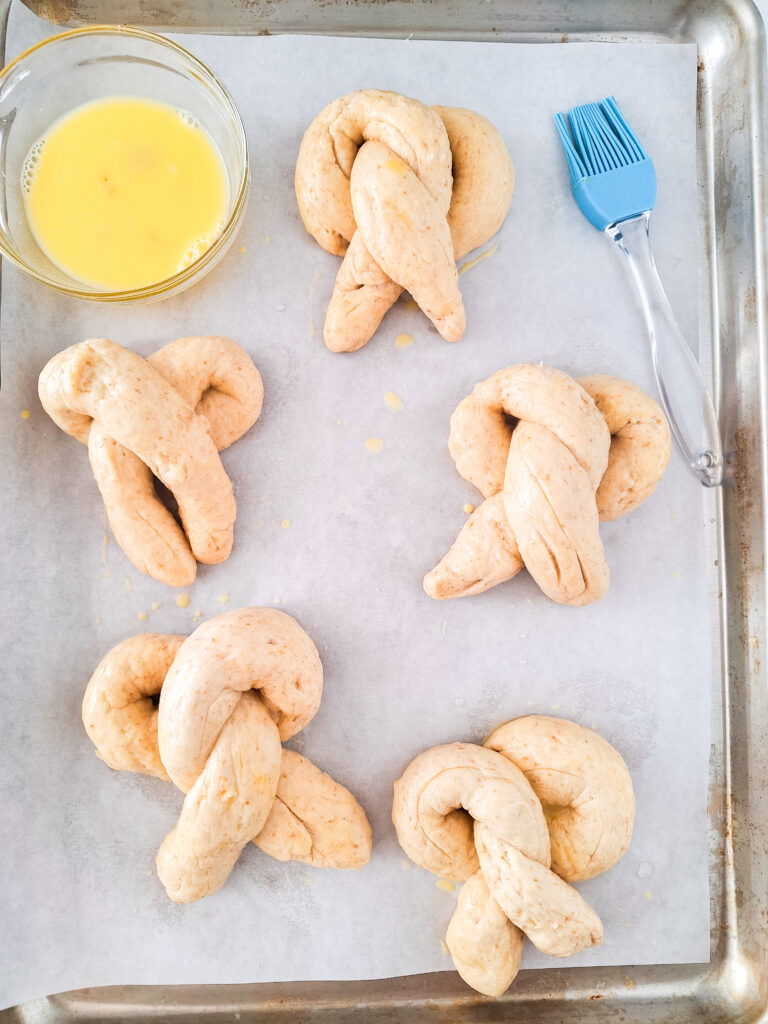
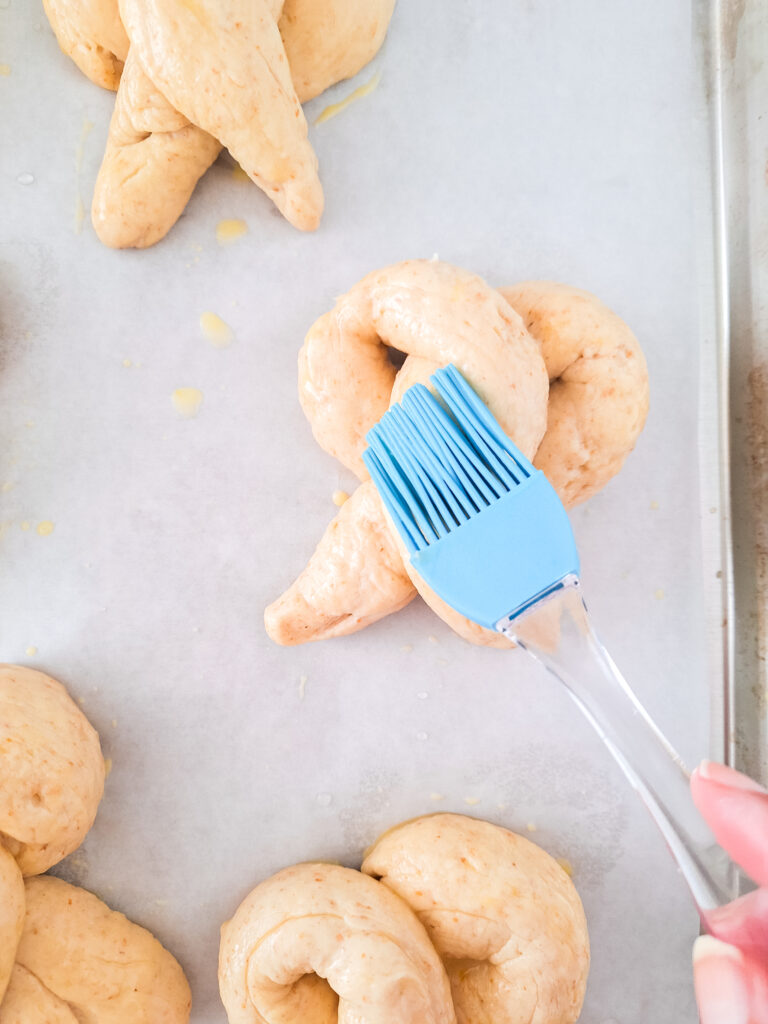
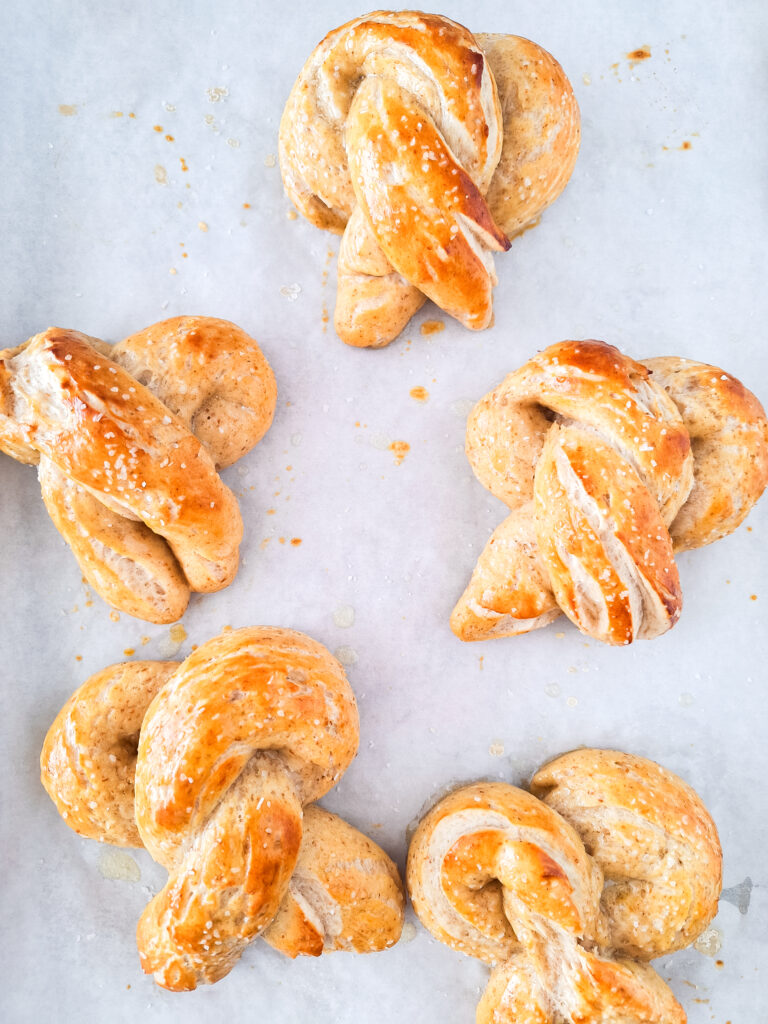
- Bake: Bake the pretzels until golden brown, approximately 13-15 minutes. Transfer to a cooling rack to cool completely.
Notes
- If your pretzels don’t float in the boiling water, let them rise longer before trying again.
- Customize your pretzels with various toppings and dips for a unique flavor experience.
- Leftover pretzels can be stored in an airtight container at room temperature for up to two days or frozen for longer storage.
How to Store Leftovers
If, by some miracle, you have leftover pretzels (trust us, they’re incredibly tempting), store them in an airtight container at room temperature for up to two days. For longer storage, freeze them in a freezer-safe bag or container for up to one month. Simply reheat in the oven for a few minutes to restore their warm, fresh-from-the-oven goodness.
Food and Drink Pairings
Sourdough Discard Pretzels are incredibly versatile and pair well with a variety of beverages and dips. Here are a few pairing suggestions to enhance your snacking experience:
- Beer Cheese Dip: The rich, creamy flavors of beer cheese dip complement the savory notes of salted pretzels perfectly.
- Honey Mustard Sauce: The tangy sweetness of honey mustard provides a delightful contrast to the salty pretzels.
- Craft Beer or Hard Cider: For a classic pub-style pairing, enjoy your pretzels with a cold craft beer or crisp hard cider.
Frequently Asked Questions
Can I make this recipe without a stand mixer?
Absolutely! While a stand mixer makes the process more convenient, you can easily make the dough by hand using a large bowl and a wooden spoon. Knead the dough by hand until it reaches a smooth, elastic consistency.
My pretzels didn’t float in the boiling water. What went wrong?
If your pretzels don’t float, it’s likely because they haven’t risen enough. Cover them with plastic wrap and let them rest for an additional 10 minutes before trying again. Properly risen pretzels will float in the boiling water, ensuring a light, airy texture.
Can I customize the toppings?
Absolutely! While the classic salted pretzels are always a hit, feel free to get creative with your toppings. Experiment with everything from sesame seeds and poppy seeds to garlic butter or even shredded cheese for a unique twist on this classic snack.
With its simple ingredients, straightforward instructions, and endless possibilities for customization, Sourdough Discard Pretzels are a must-try for any home baker. So roll up your sleeves, preheat your oven, and get ready to delight your taste buds with these irresistible homemade treats. Don’t forget to share the recipe with your friends and family, and be sure to subscribe to our blog for more delicious culinary inspiration. Happy baking!
PIN for Later