Easy Cookies N Cream Roll-Out Cookie Recipe
This is the Ultimate Guide for Perfect, No-Spread Cookies N Cream Roll-Out Cookies that can be decorated!
When it comes to baking cookies, there’s nothing quite like the classic combination of chocolate and vanilla. These Cookies N Cream Roll-Out Cookies bring that beloved Oreo flavor into a crisp, buttery cookie that’s both easy to make and incredibly delicious. Whether you’re a seasoned baker or just starting out, this recipe is simple enough for anyone to follow, yet packed with pro tips to ensure that you end up with perfect, non-spreading cookies every time.
In this blog post, we’ll take you through the recipe step-by-step, cover essential tools, answer frequently asked questions, and share expert tips that every pastry chef instructor would tell their students. Whether you’re baking for a party, a special occasion, or just because you’re in the mood for a treat, this recipe is sure to impress!
Equipment You’ll Need:
Before we dive into the recipe, let’s make sure you have all the right tools for the job. This will make your baking experience smooth and stress-free.
- Parchment Paper – For lining your baking sheets and preventing cookies from sticking.
- Cookie Sheet – A standard flat baking sheet works best for even baking.
- Stand Mixer with Paddle Attachment – If you don’t have a stand mixer, you can use a hand mixer, but a stand mixer makes the job easier.
- Wood Rolling Pin – A rolling pin helps to evenly flatten the dough. Wooden ones are preferred for a smooth, even roll.
Ingredients:
- 1 cup unsalted butter, room temperature
- 1 cup granulated sugar
- 1 large egg
- 1 tsp vanilla extract
- 1/2 box (2.1 oz) Oreo instant pudding mix
- 2 1/4 cups all-purpose flour
Instructions:
1. Cream Butter and Sugar:
Start by creaming the unsalted butter and granulated sugar together in your stand mixer with the paddle attachment. Mix on medium speed for about 5 minutes. This step is crucial because it incorporates air into the butter, giving the cookies a light texture.
2. Add Egg and Vanilla:
Next, add in your egg and vanilla extract. Mix on low speed until fully combined. You should notice the dough starting to come together at this point.
3. Incorporate the Dry Ingredients:
Add in the flour and half of the Oreo instant pudding. If you can’t find Oreo pudding, don’t worry! See the notes below for an easy substitute. Mix until the dough just comes together and no streaks of flour remain.
4. Roll Out the Dough:
Now it’s time to roll out your dough. Lightly flour your work surface to prevent sticking. Use your rolling pin to roll the dough to about 1/4 inch thick. The dough should not be sticky—if it is, simply sprinkle in a little more flour until it feels manageable.
5. Cut Out Your Shapes:
Use your favorite cookie cutters to cut out shapes from the dough. Place them on your parchment-lined baking sheet. To prevent your cookies from spreading, freeze the dough for 45-60 minutes before baking. This step is a game-changer—freezing the dough ensures your cookies hold their shape perfectly!
6. Bake:
Preheat your oven to 350°F (175°C). Bake the cookies for 10-12 minutes, or until the edges are lightly golden brown. Be sure not to overbake—cookies continue to cook slightly even after they’ve been removed from the oven.
7. Cool and Decorate:
Allow the cookies to cool on the baking sheet for a few minutes before transferring them to a wire rack. Once cooled, you can decorate them as desired! Whether you’re adding icing, sprinkles, or just enjoying them plain, these cookies are the perfect blank canvas for creativity.
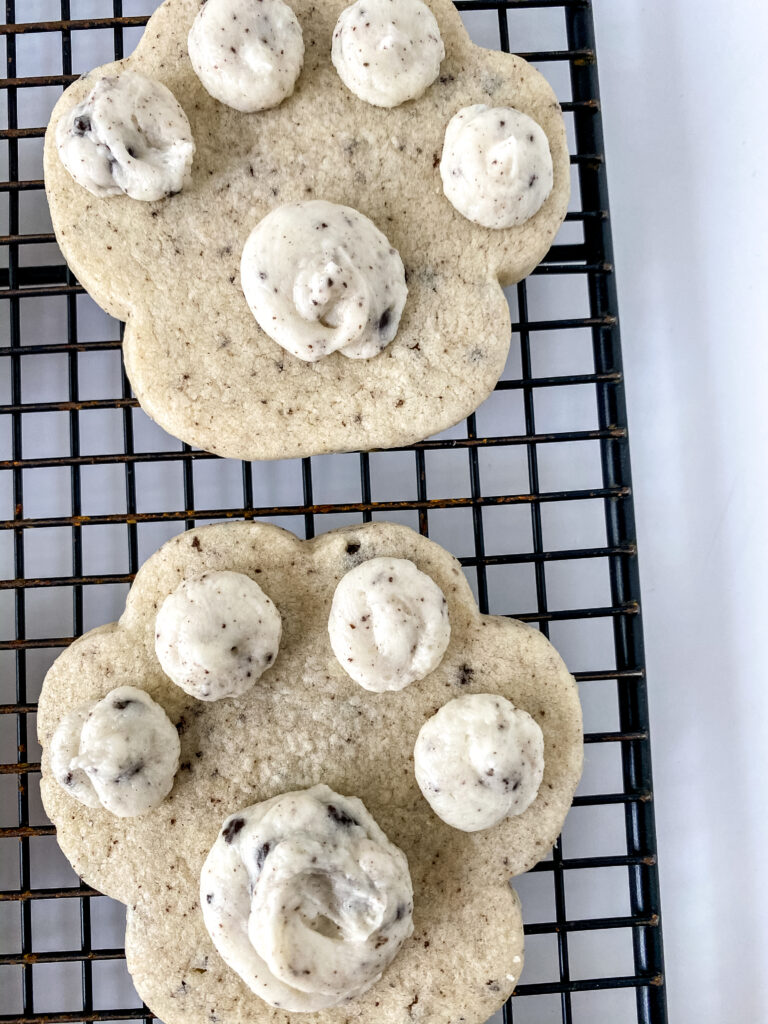
Chef Tips for Perfect Cookies:
- Freeze the Dough: After cutting out your cookie shapes, freeze the dough for at least 45-60 minutes before baking. This ensures the cookies don’t spread too much and keeps their shape intact.
- Don’t Overmix the Dough: Overmixing the dough can cause the cookies to spread too much and lose their shape. Mix the dough just until everything is incorporated.
- Flour Consistency: If your dough feels sticky, add up to 1/4 cup of flour. The dough should be soft but not sticky, allowing you to roll it out with ease.
- Chill the Dough: Not just after cutting the cookies, but you can also chill the dough itself before rolling it out. This makes it easier to handle and keeps the cookies from spreading.
FAQs:
Q1: What can I substitute for Oreo pudding if I can’t find it?
If you can’t find Oreo pudding, no problem! Just crush 3-4 Oreo cookies (without the crème filling) and mix them with 1/2 cup of all-purpose flour. This will give your cookies that signature Oreo flavor.
Q2: My cookies are spreading too much. What went wrong?
Cookies that spread too much often have a few common causes:
- The dough wasn’t chilled enough before baking.
- The dough was overmixed, causing the cookies to spread. To avoid this, always freeze the cut-out dough before baking and mix the dough just until everything is incorporated.
Q3: Can I use a hand mixer instead of a stand mixer?
Yes! A hand mixer will work just fine, though you may need to mix a bit longer than you would with a stand mixer. Just be careful not to overmix the dough.
Q4: Can I decorate the cookies before baking?
It’s best to bake the cookies first and decorate them once they’re cooled. If you decorate before baking, the decoration might melt into the dough during the baking process.
Q5: How should I store leftover cookies?
Store your cookies in an airtight container at room temperature for up to 1 week. For longer storage, you can freeze them for up to 3 months.
Q6: Should I used royal icing or buttercream?
Now that’s a tough question, depending on what you want the end result to look like. If you want the cookies to just be displayed and eaten, buttercream is the quickest route. But if you want to do intricate designs, then royal icing would be suggestion.
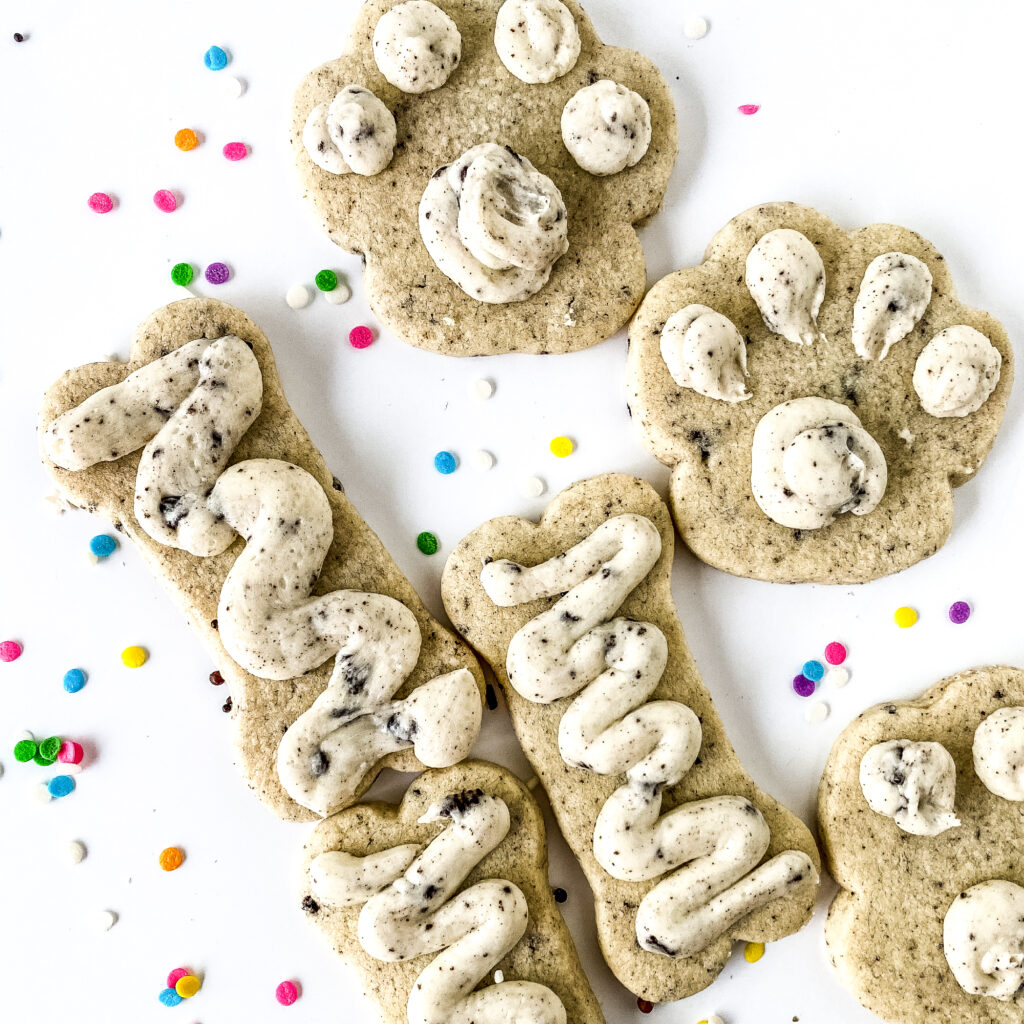
Now that you have all the tools and tips, it’s time to get baking! These Cookies N Cream Roll-Out Cookies are perfect for any occasion. Whether you’re making them for a holiday, a bake sale, or just to indulge, they’ll be a hit every time. Happy baking!
PIN for Later


Cookies N Cream Roll-Out Cookie Recipe
Ingredients
Equipment
Method
- Cream butter and sugar for 5 mins.
- Add in egg and vanilla extract and mix until incorporated.
- Add in flour and half of a packet of Oreo pudding (see notes if you cant find it)
- Lightly flour your surface and roll out the cookie dough.
- Cut out your shapes. Place on parchment lined baking sheet and freeze for 45-60 min to prevent spreading.
- Bake in a 350 degree oven for 10-12 min.
- Allow to cool and decorate as desired.
Notes
Freeze cookie dough after it’s cut into shapes to ensure that it will not spread.